ECE383 ICE 2 Part 4 - Export Hardware, Create C Project, and Run the Program
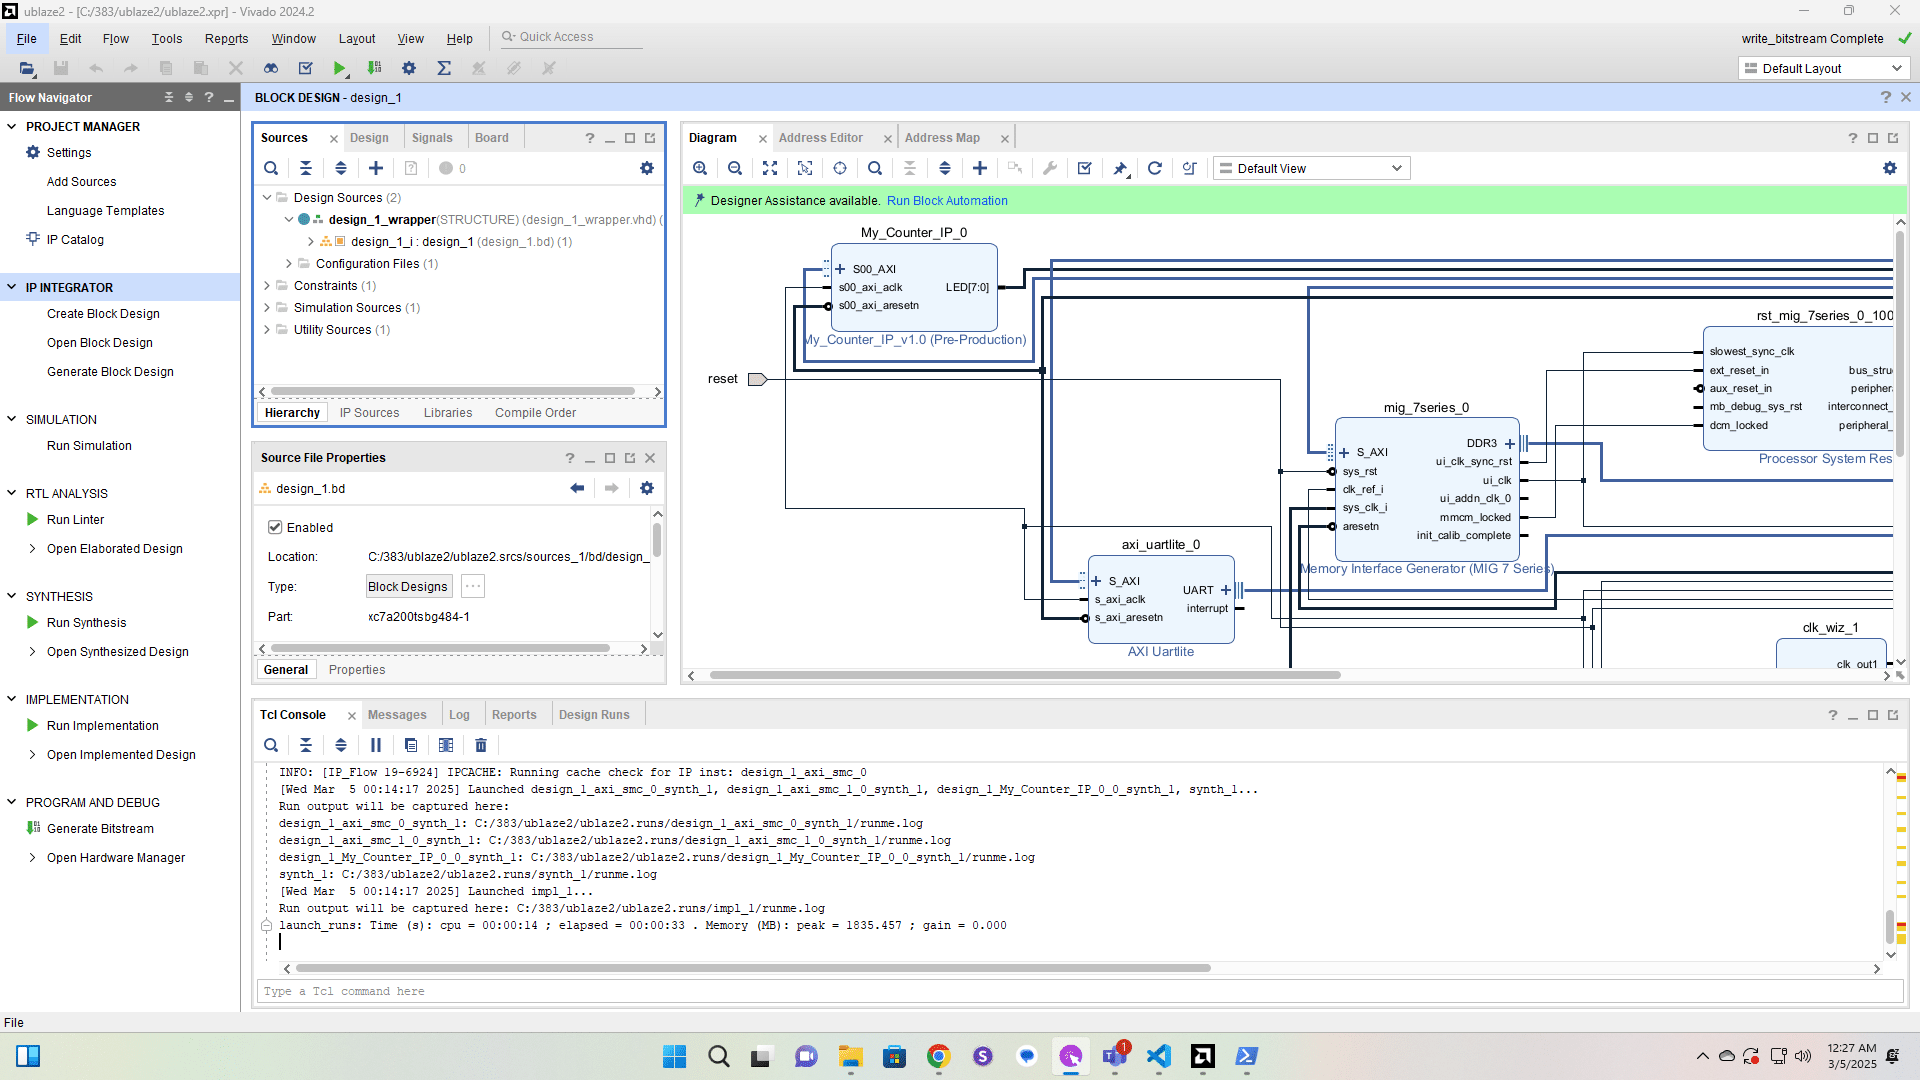
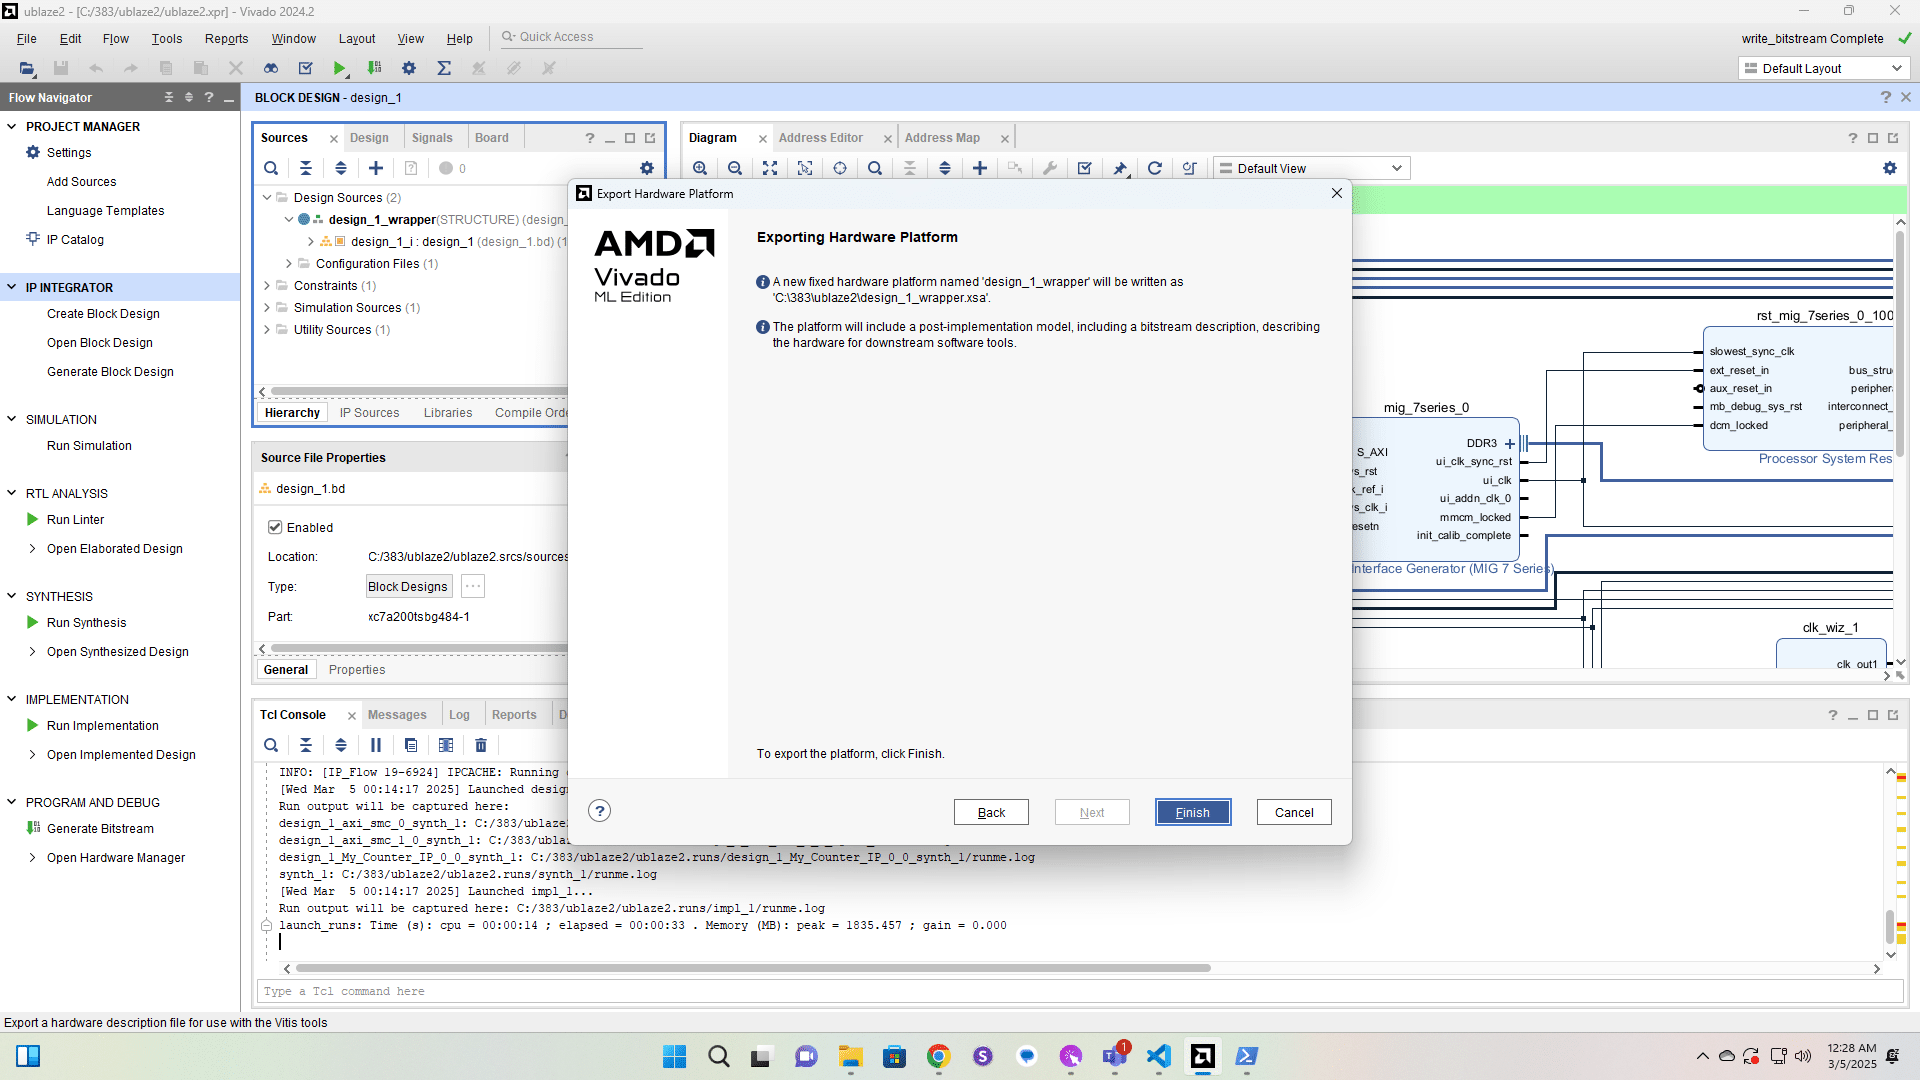
Export Hardware.
Click here
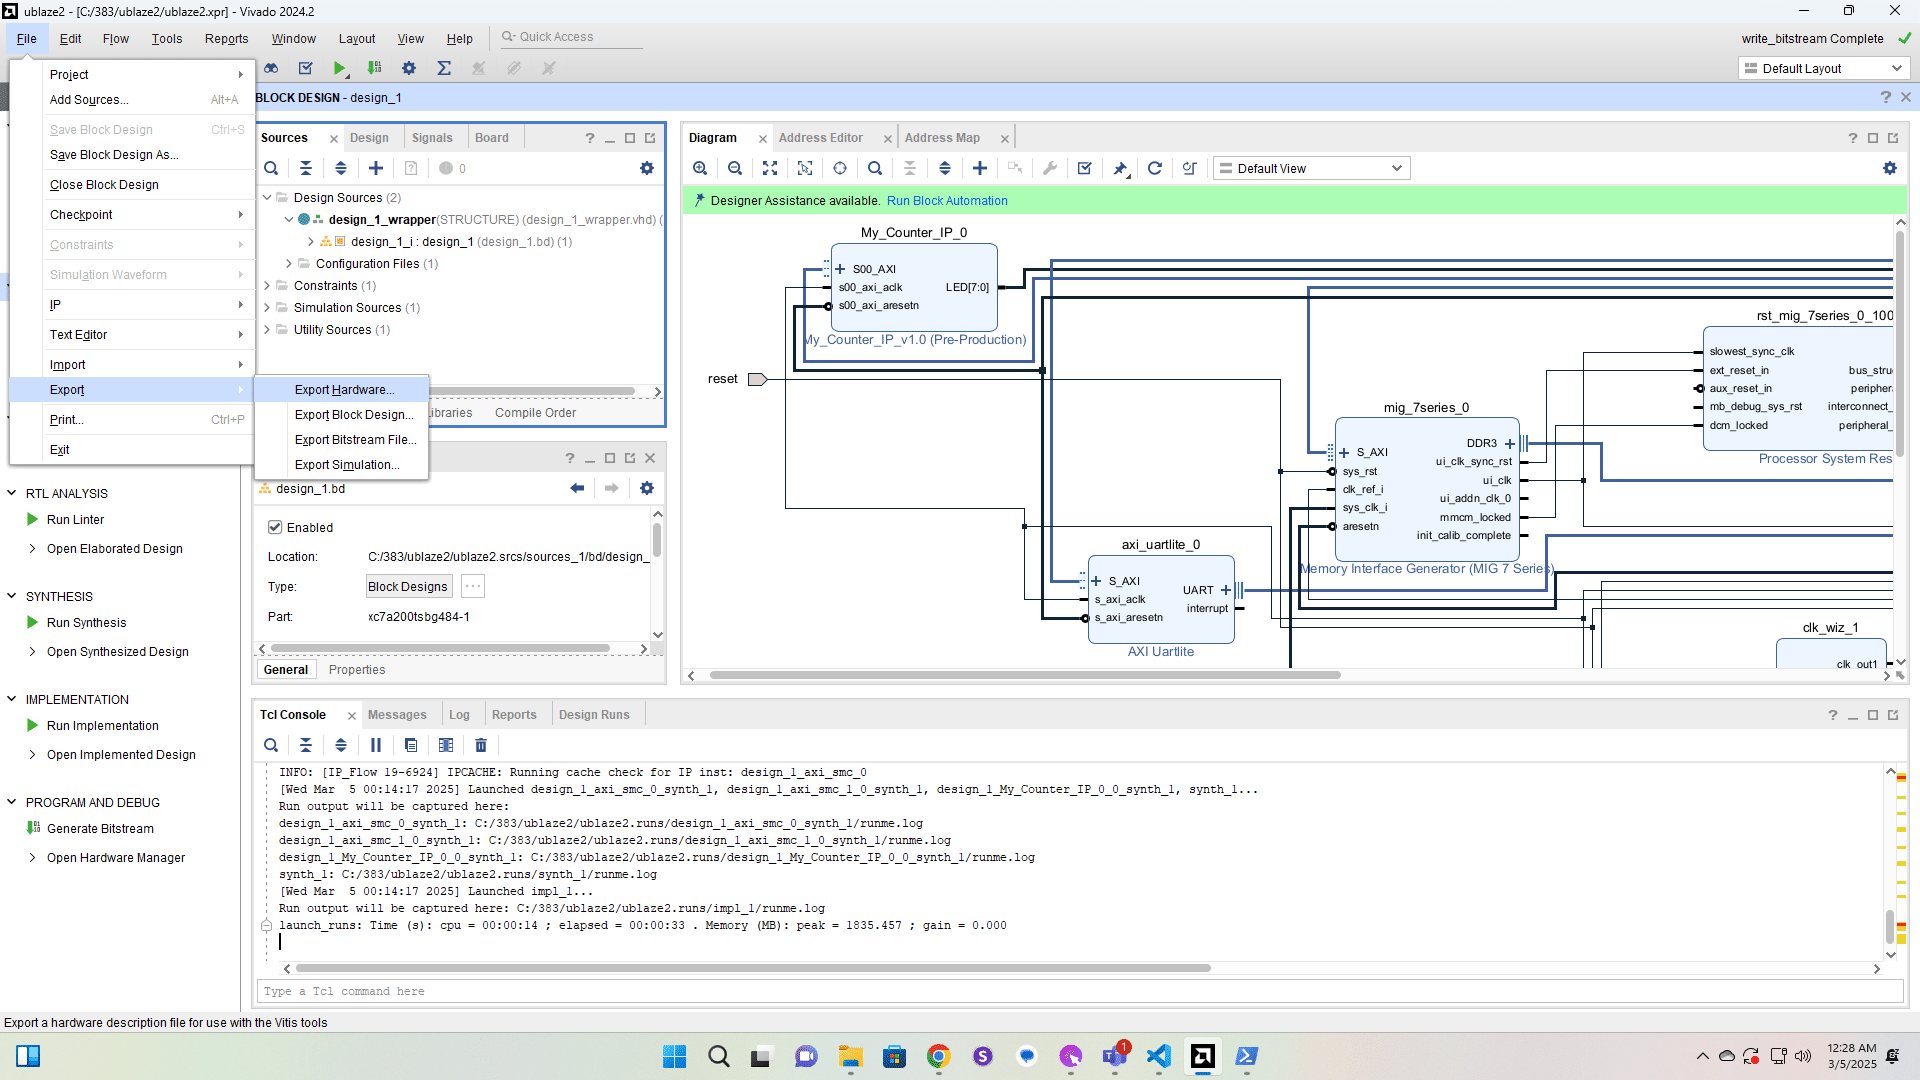
Click here

Click here
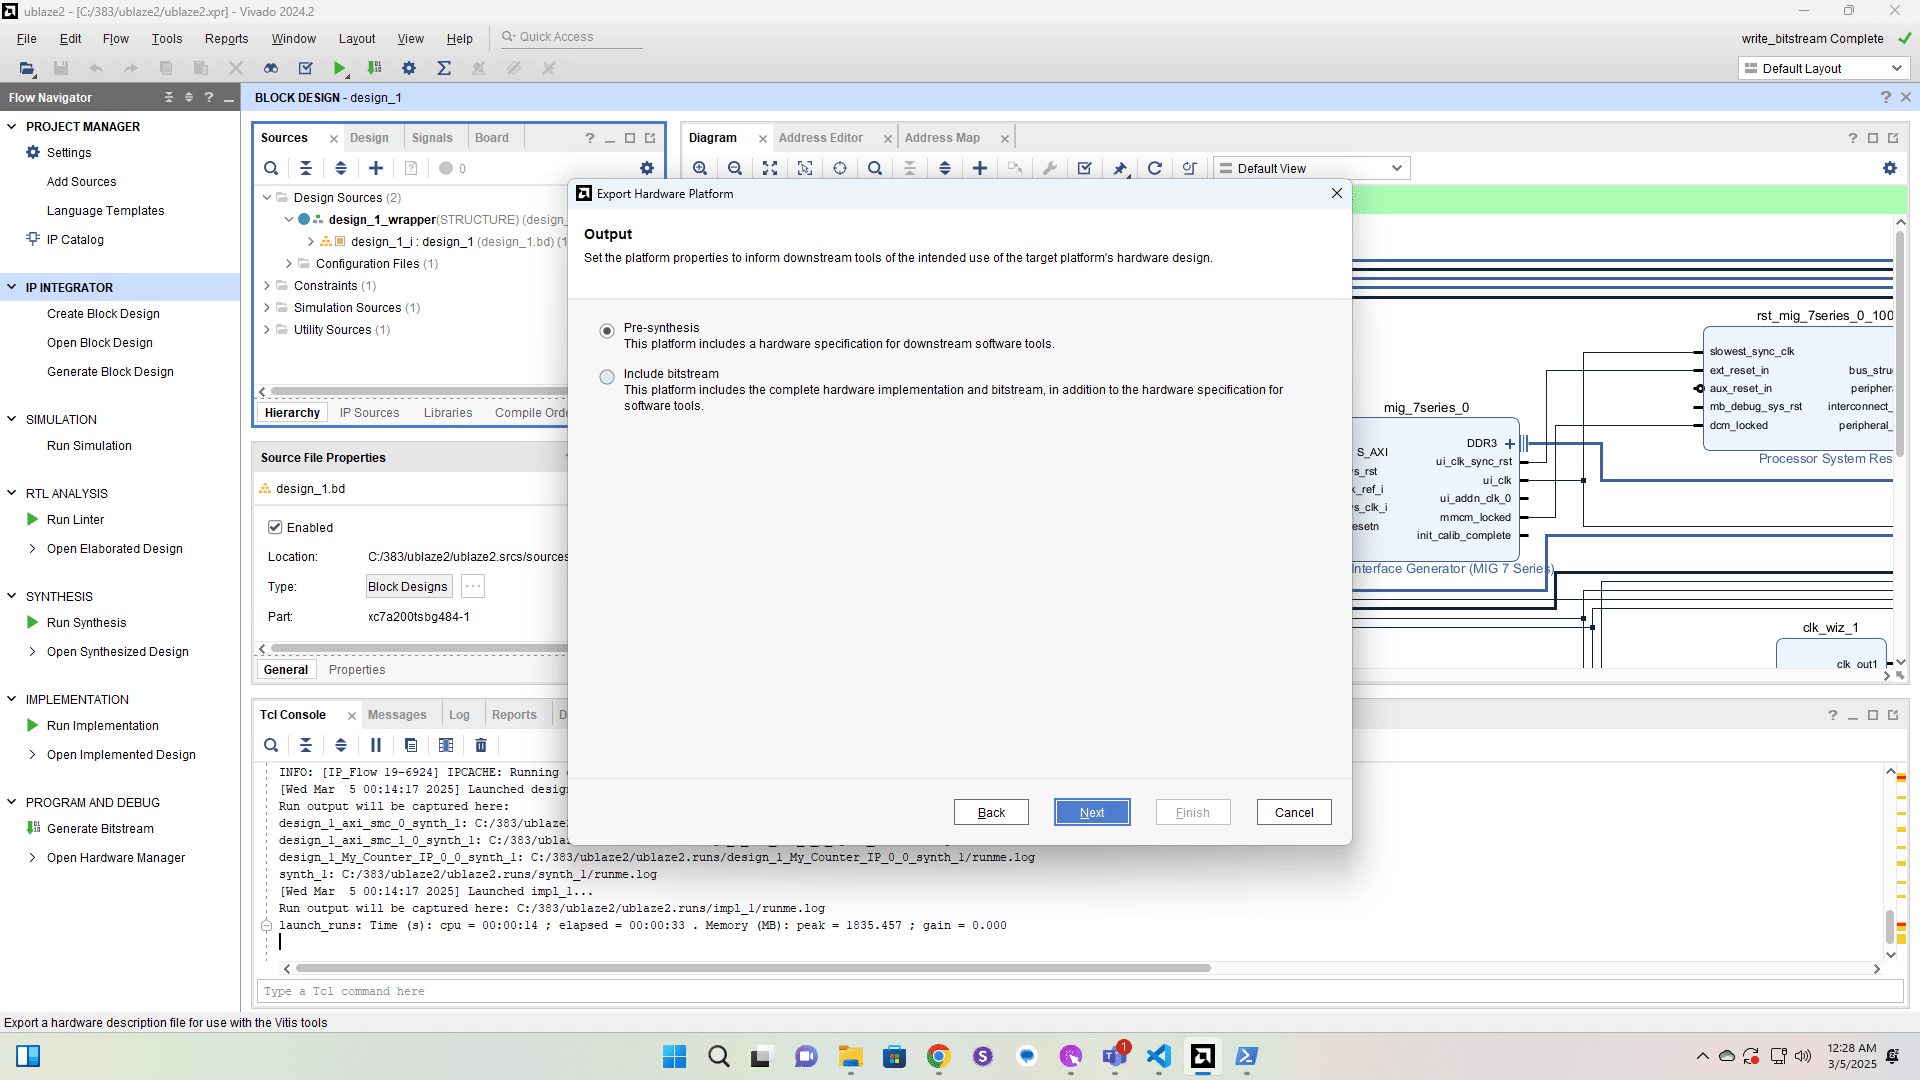
Click here

Click here
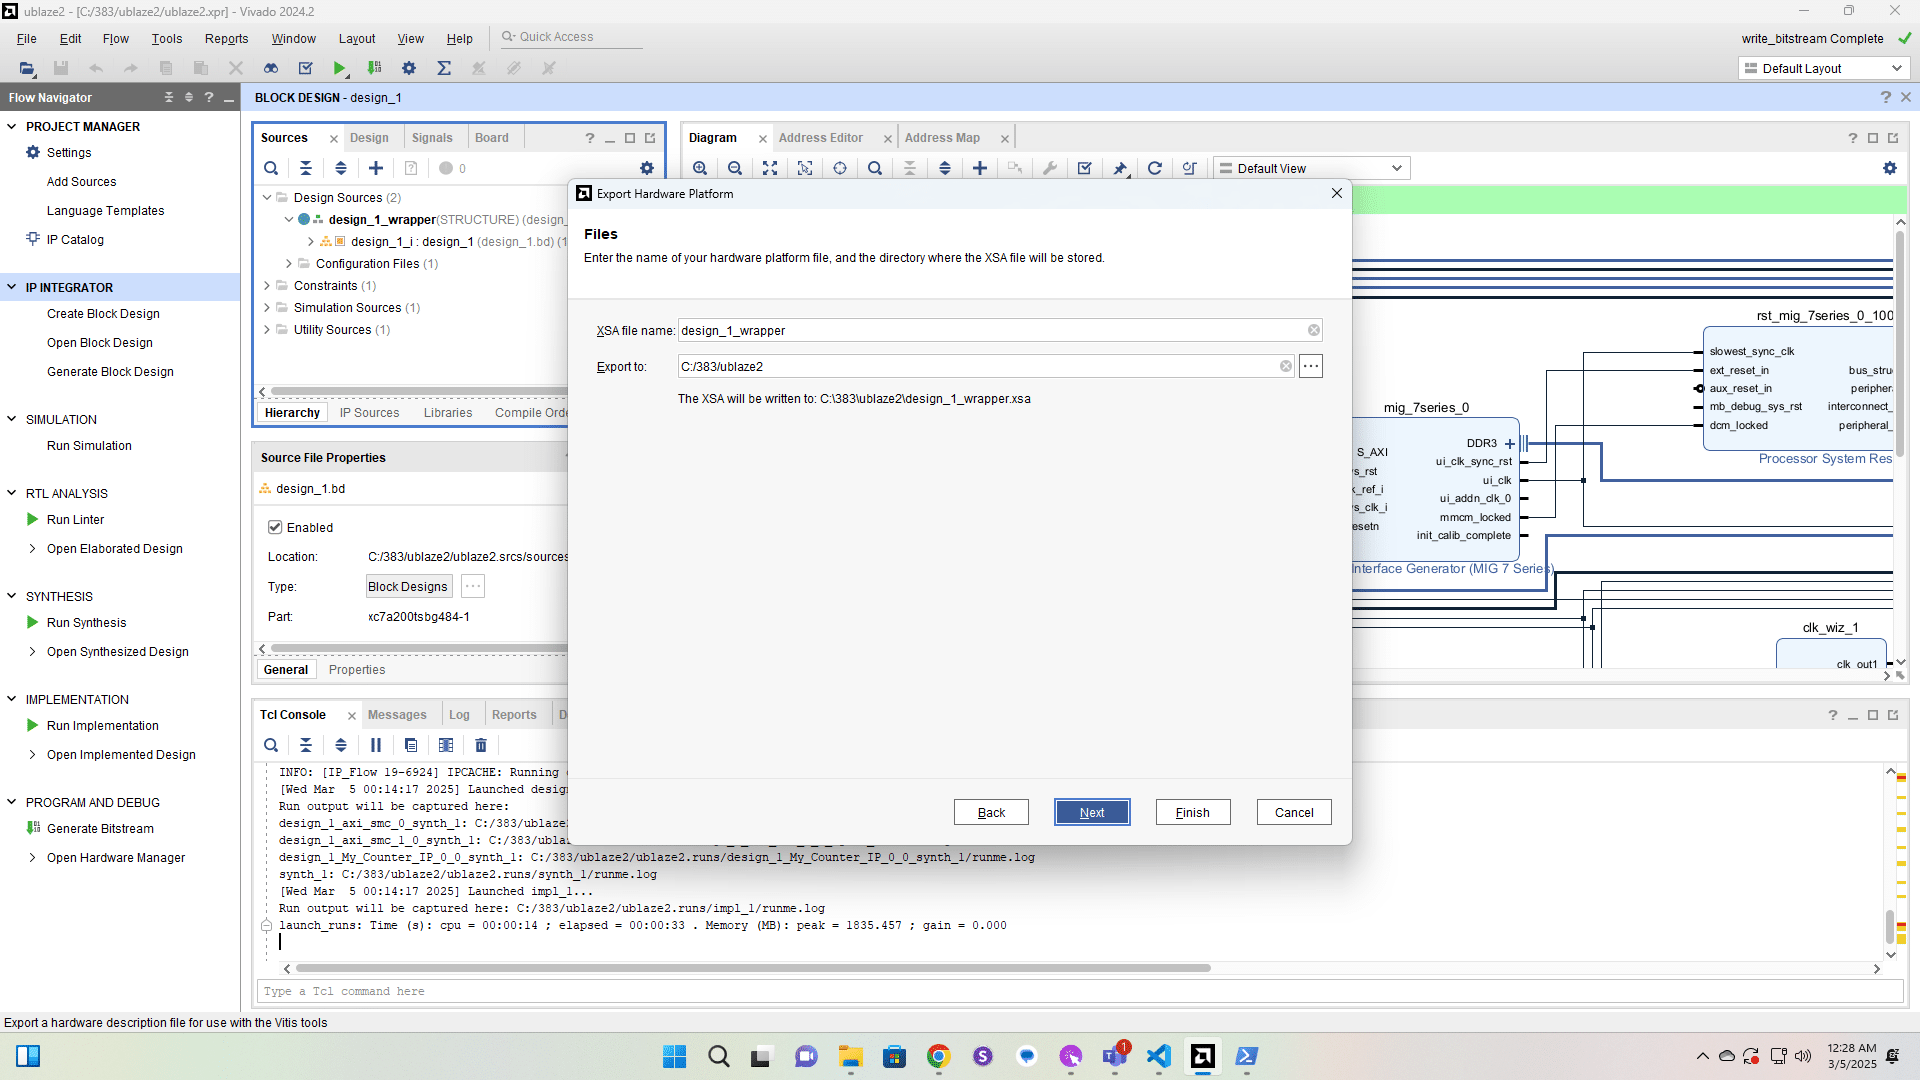
Click here
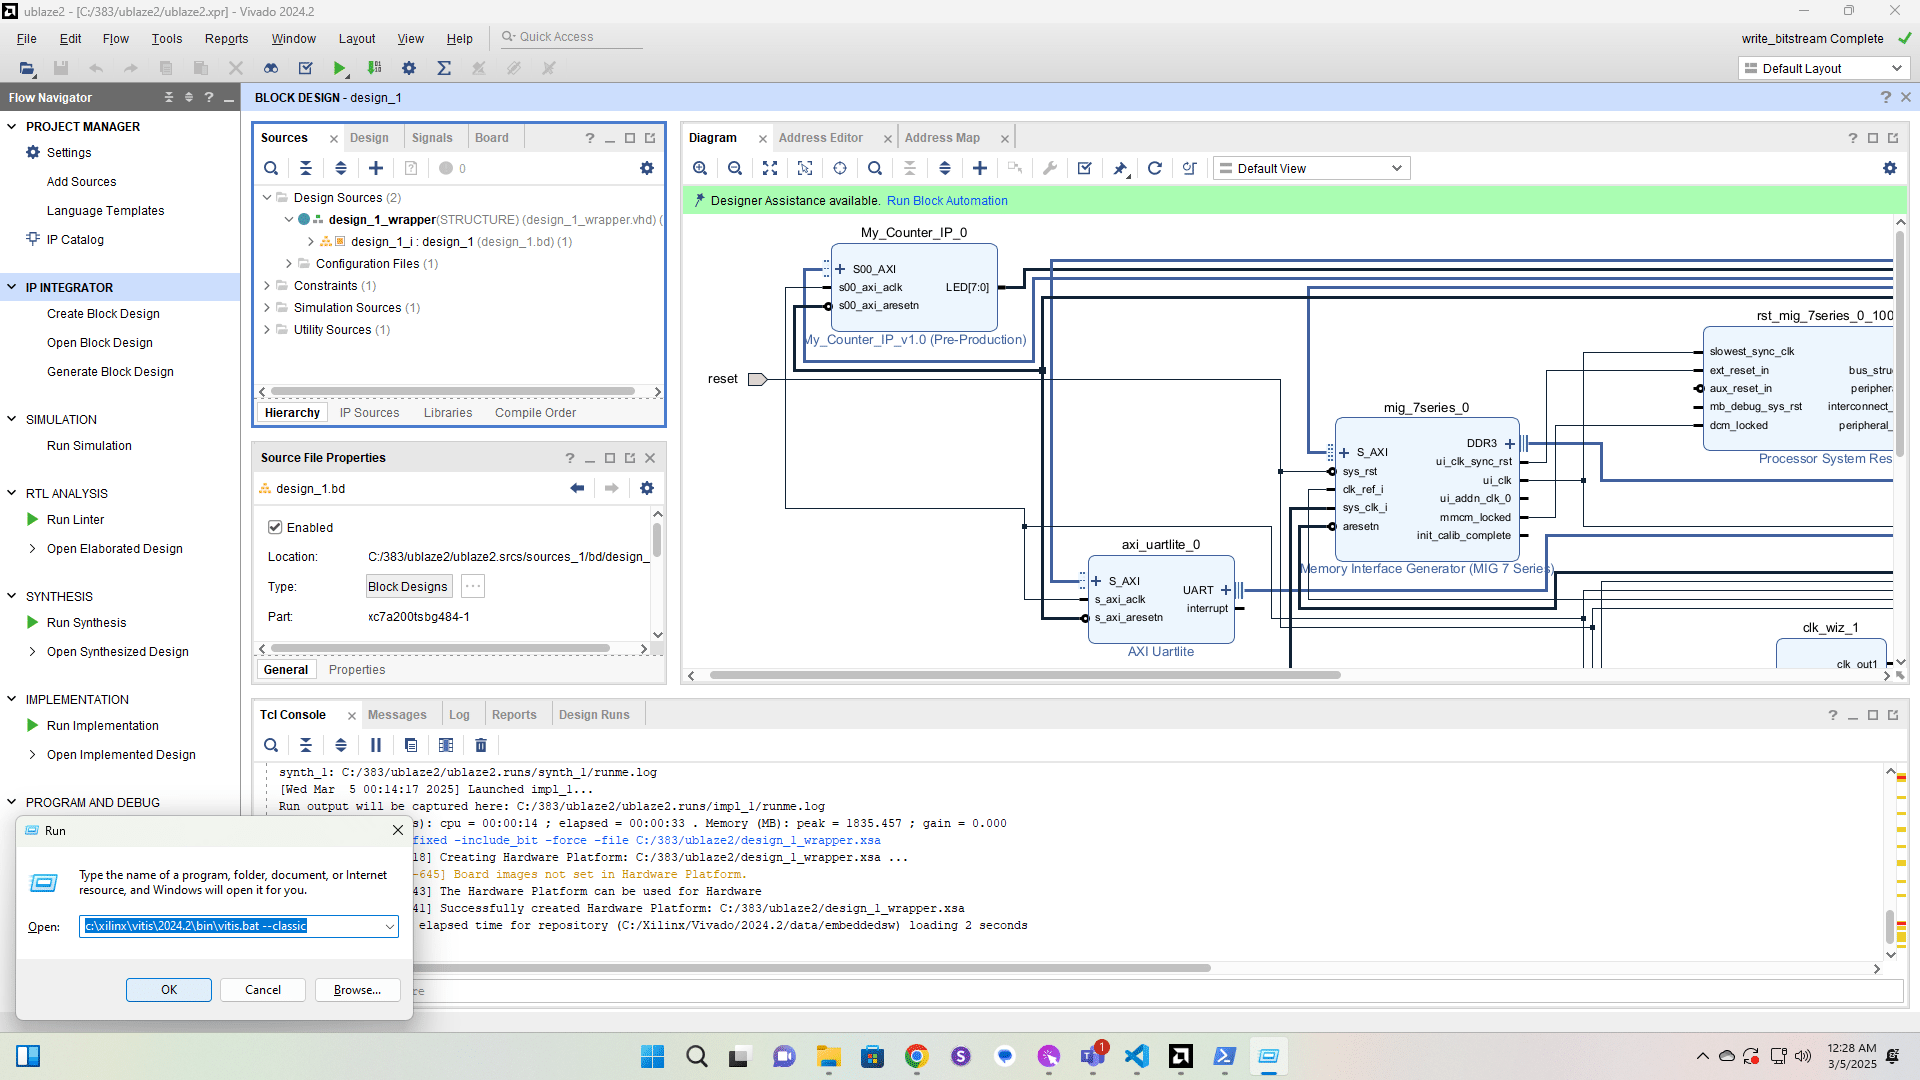
Run Vitis Classic.
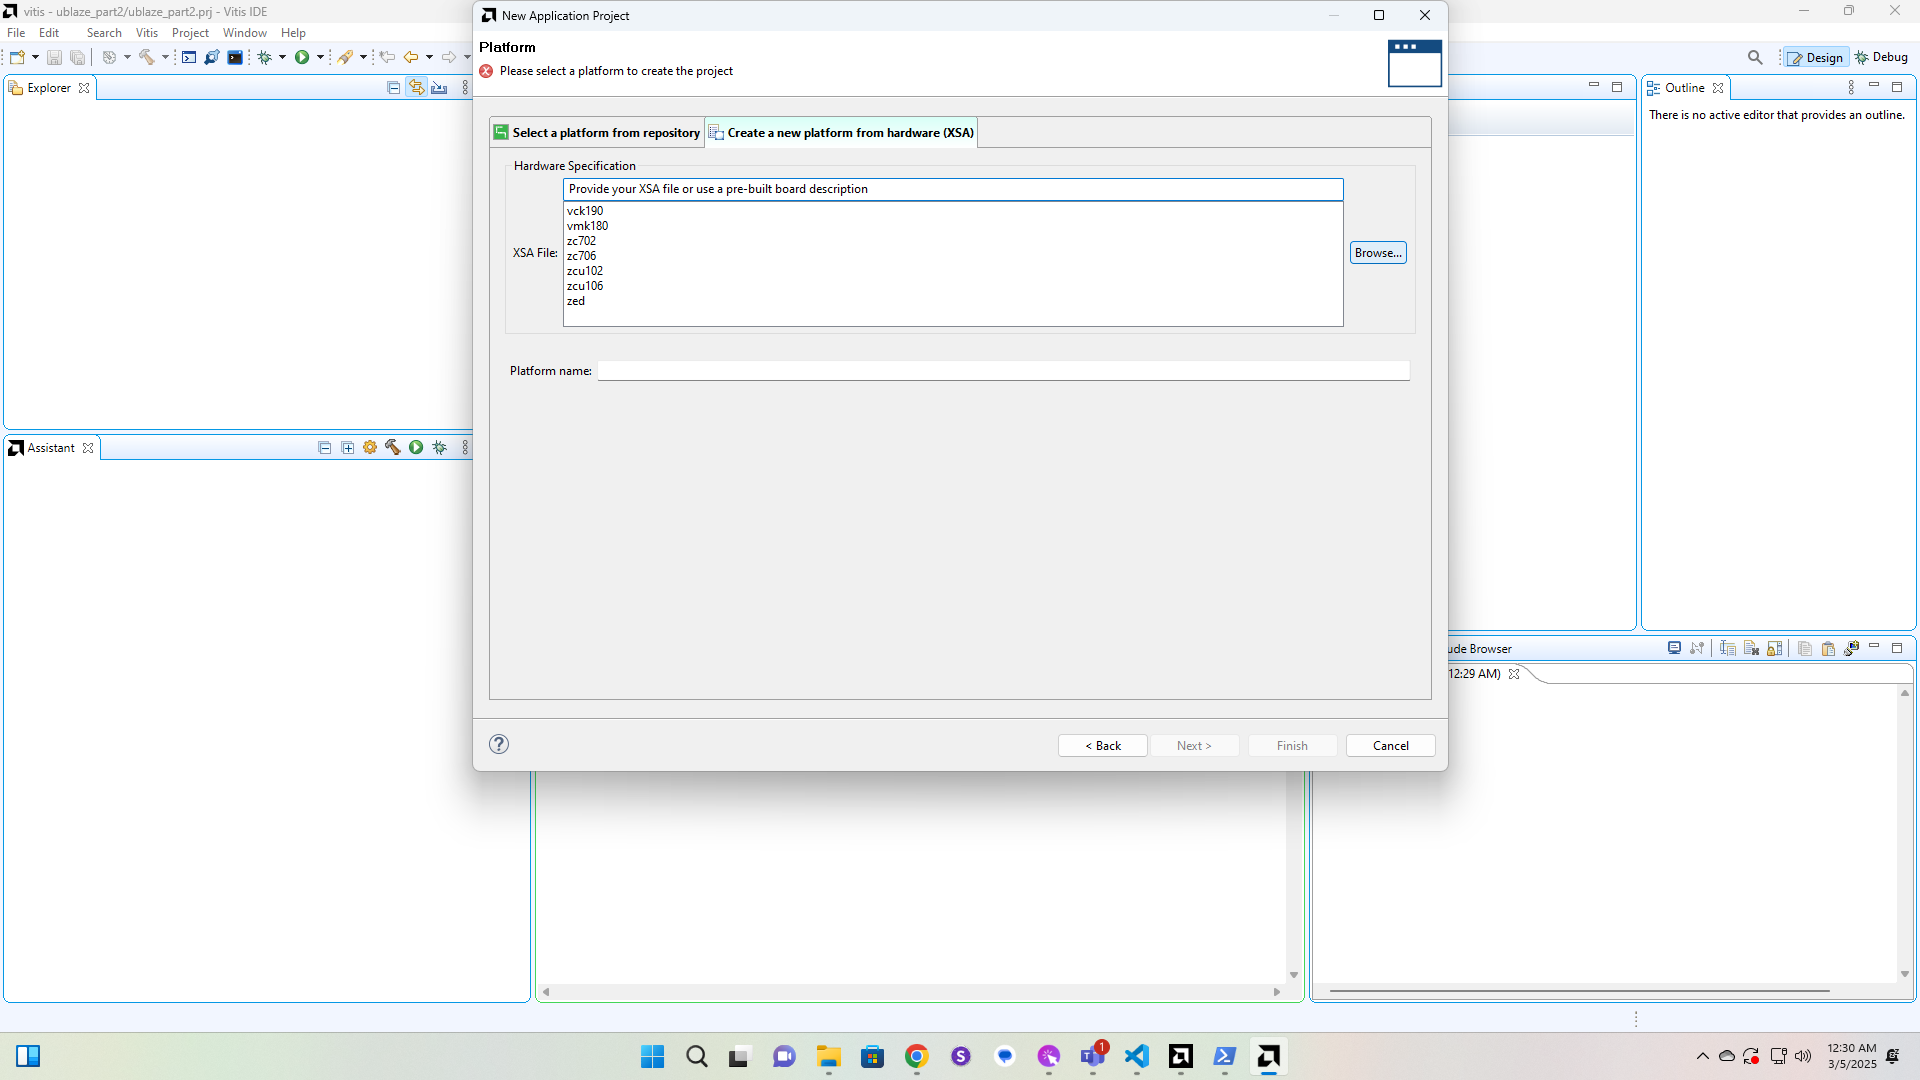
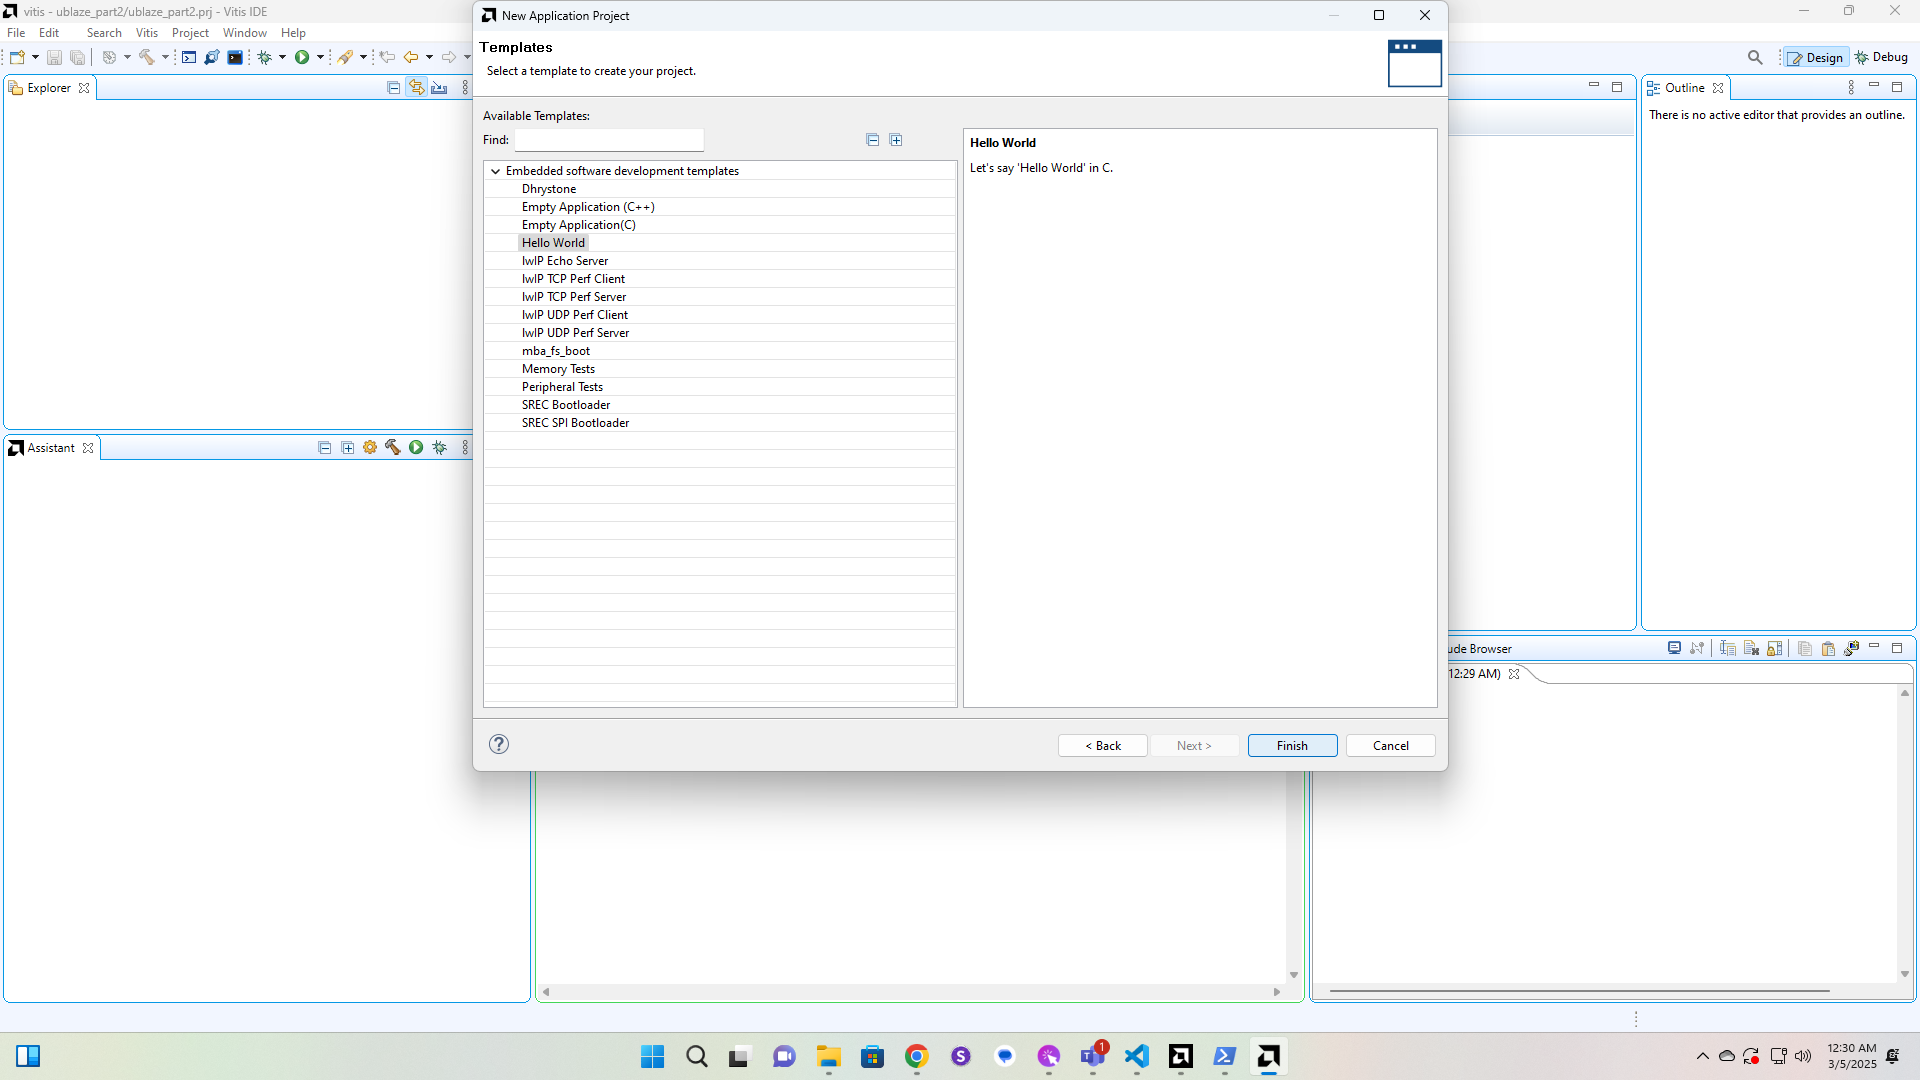
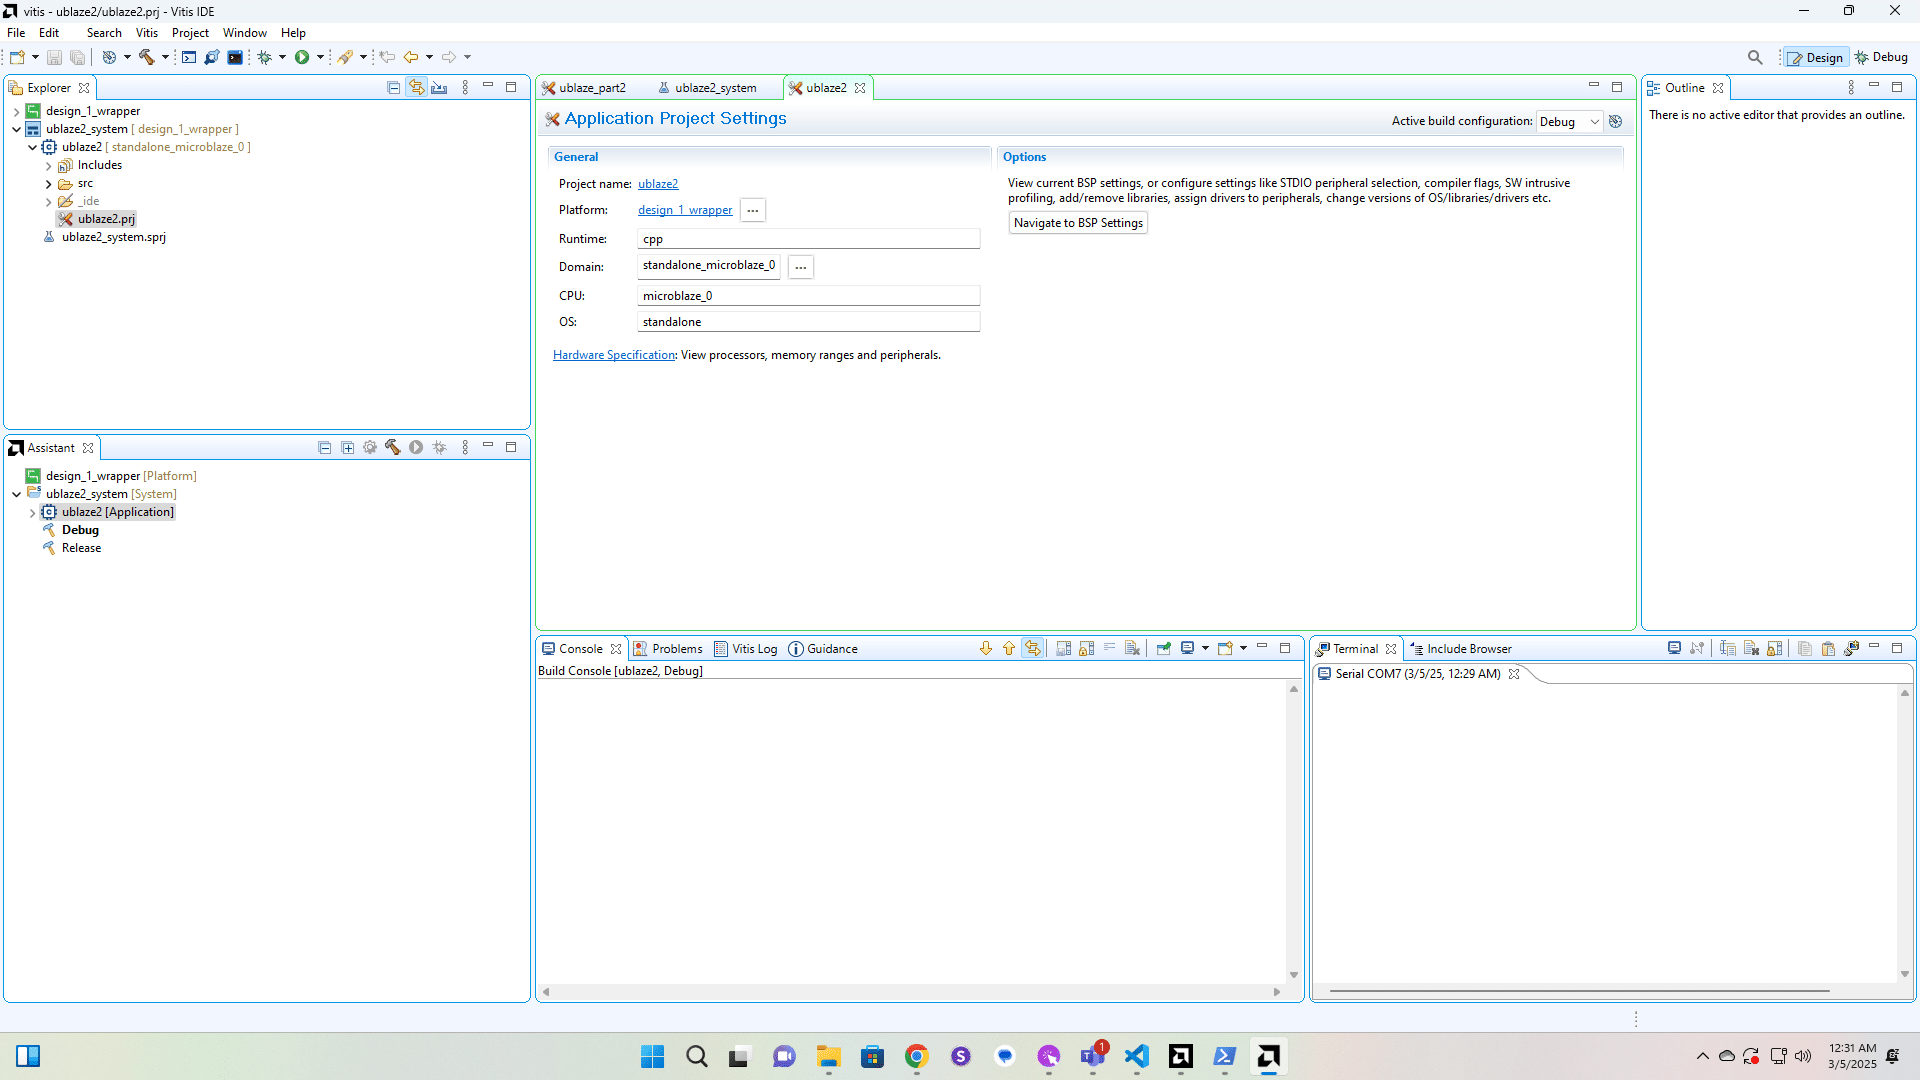
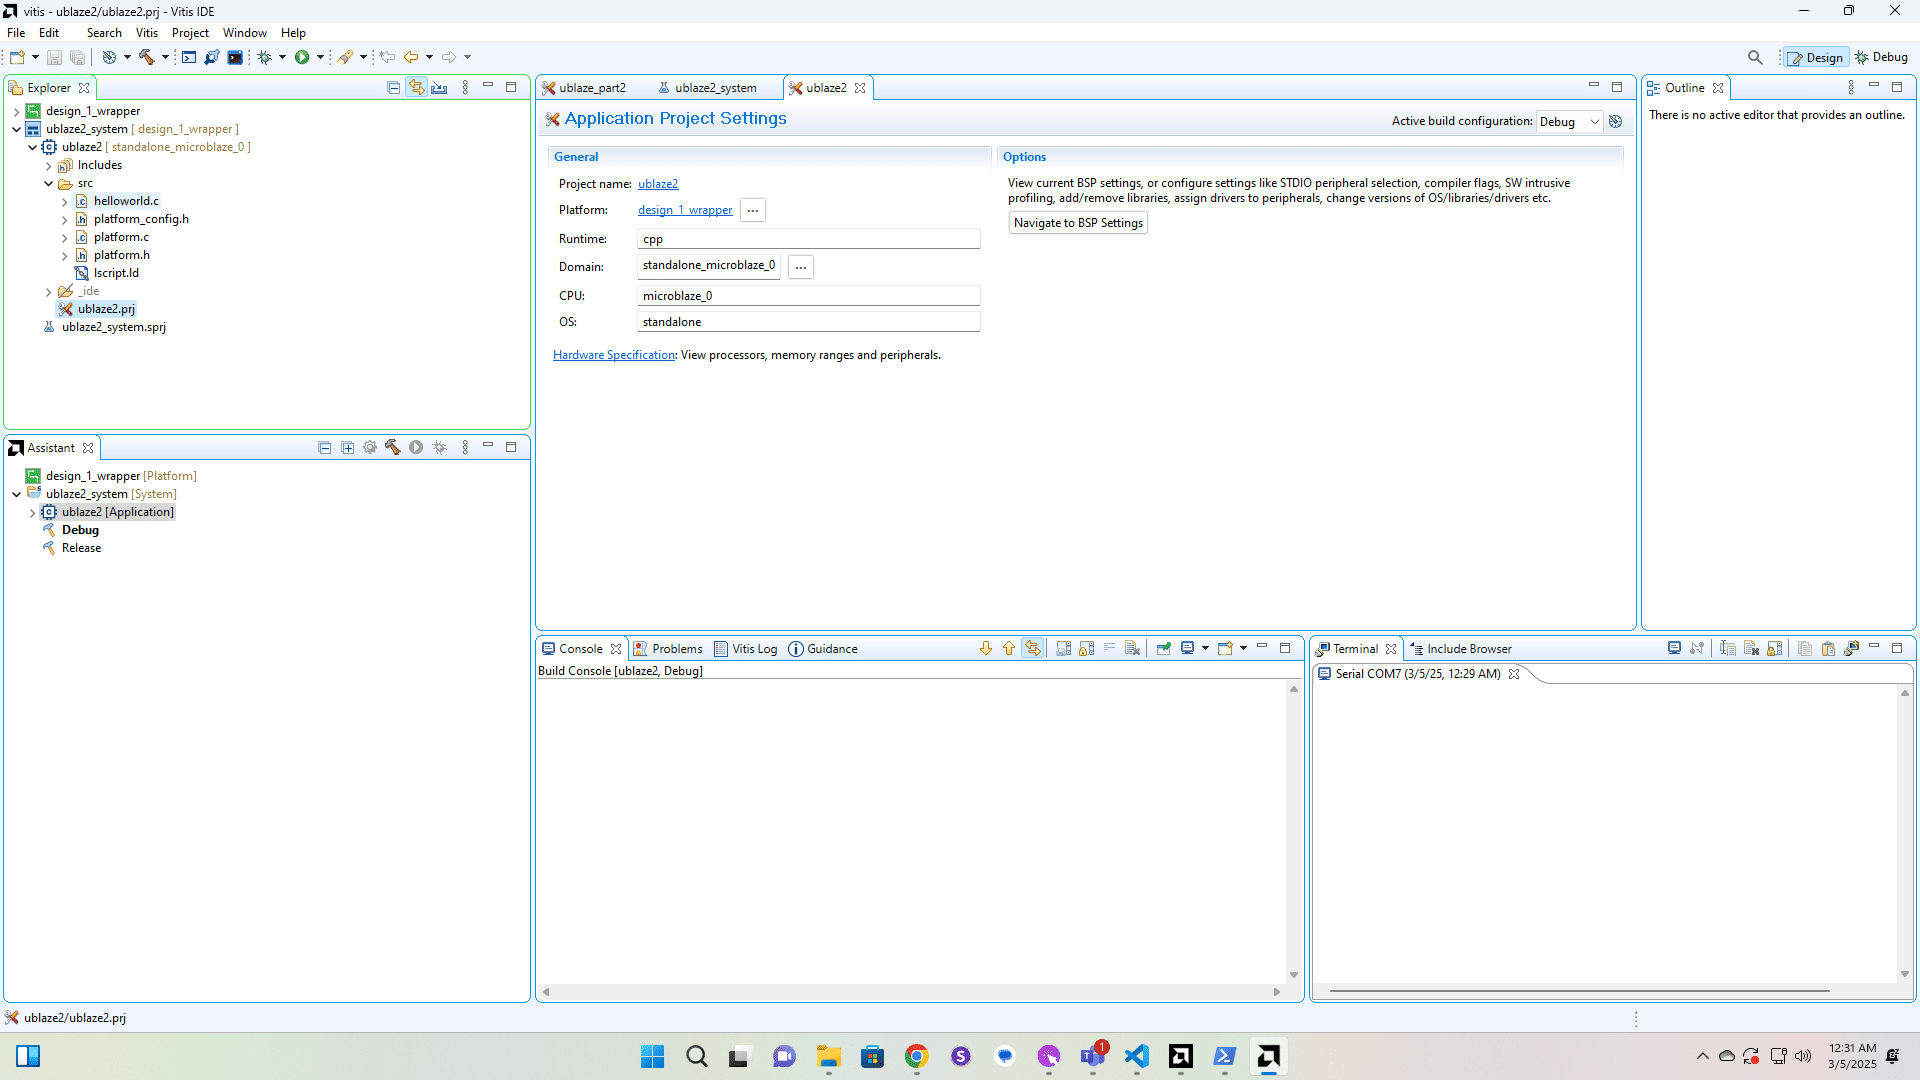
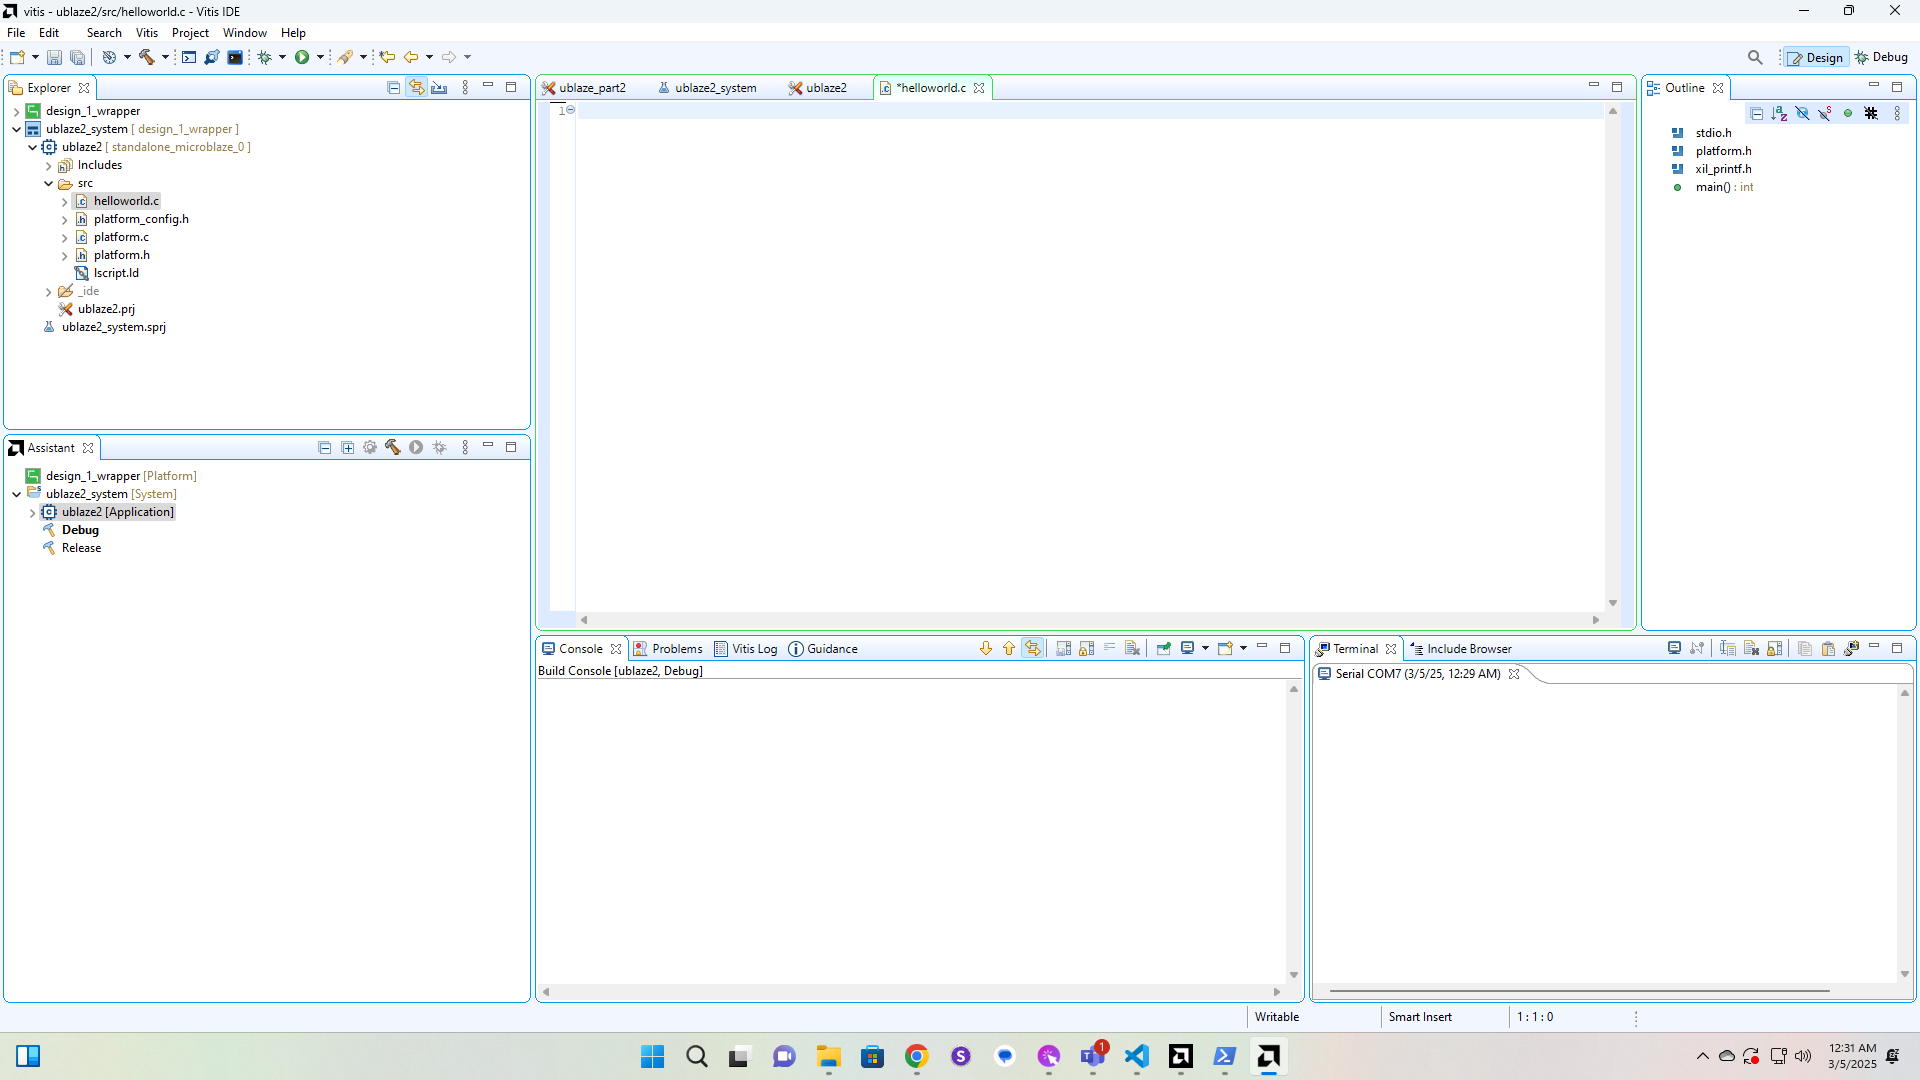
Create a new Application Project.
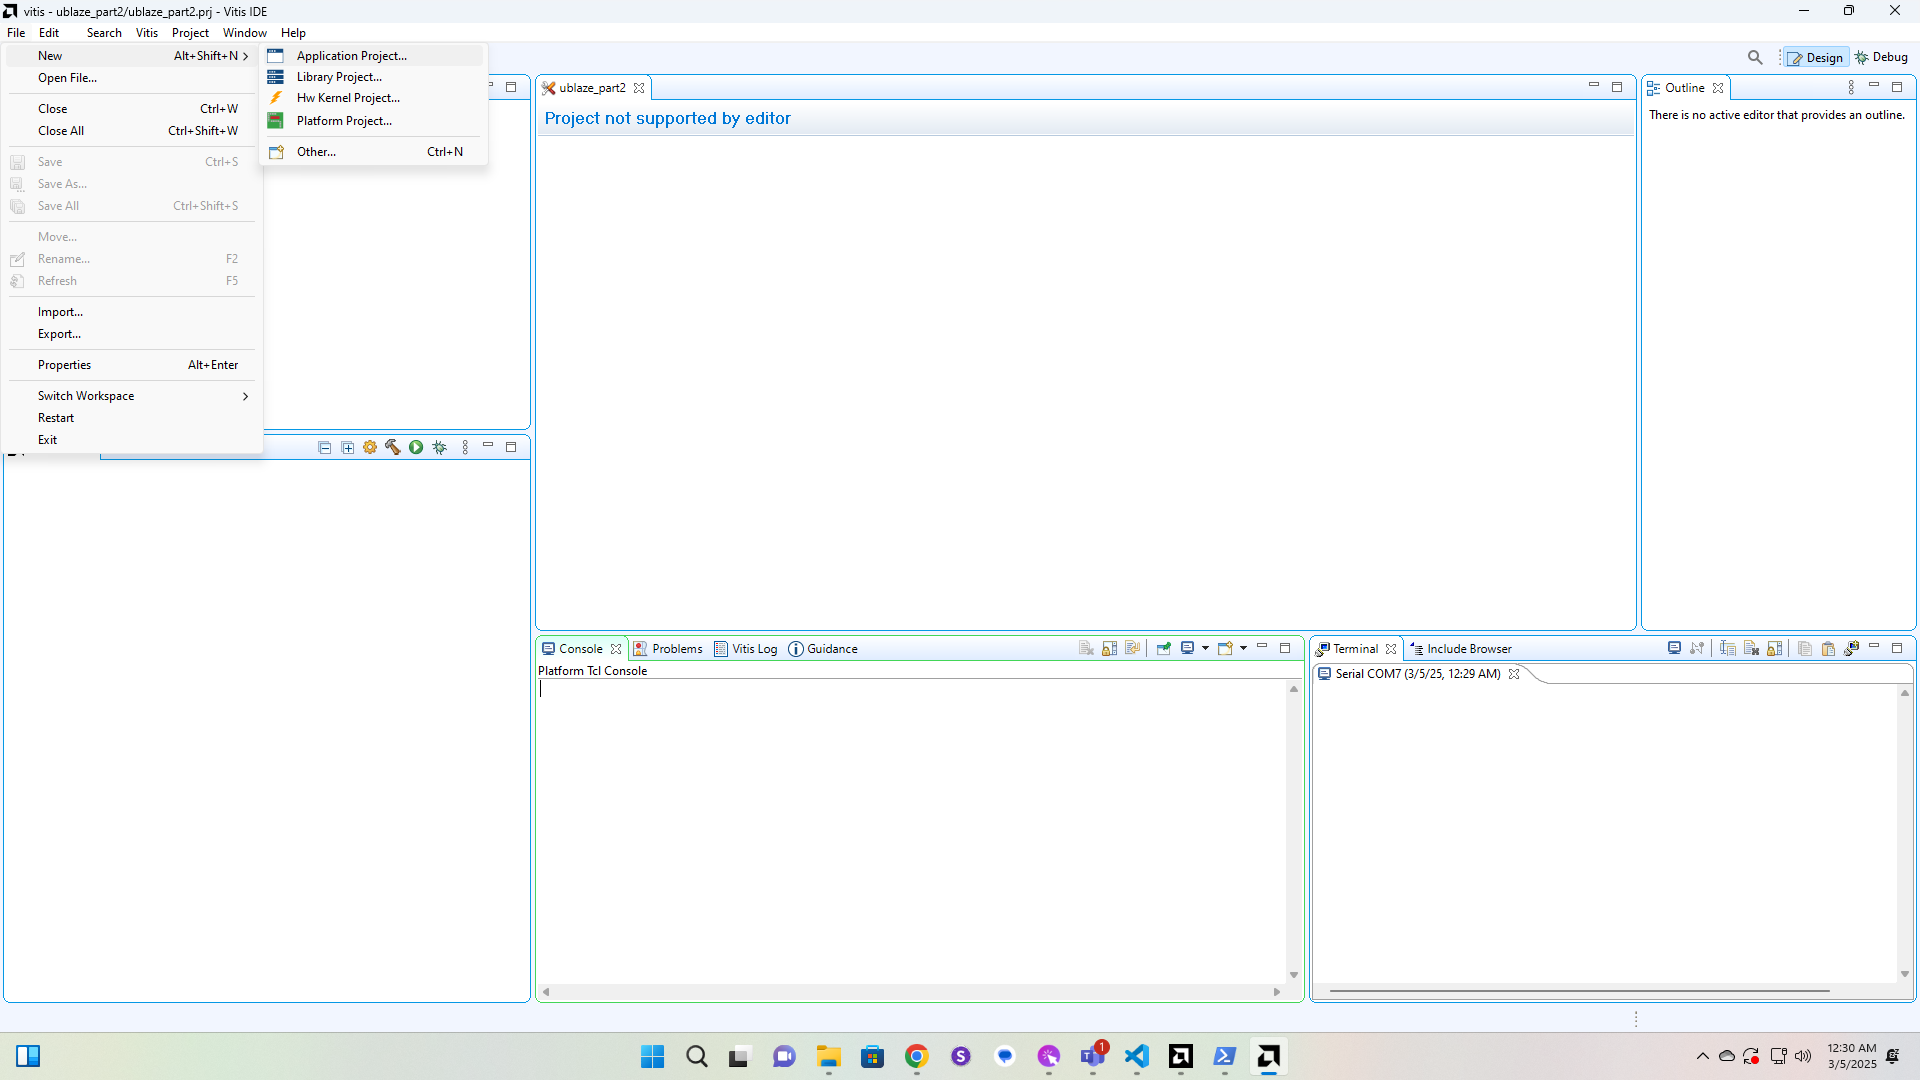
Click here
Click here
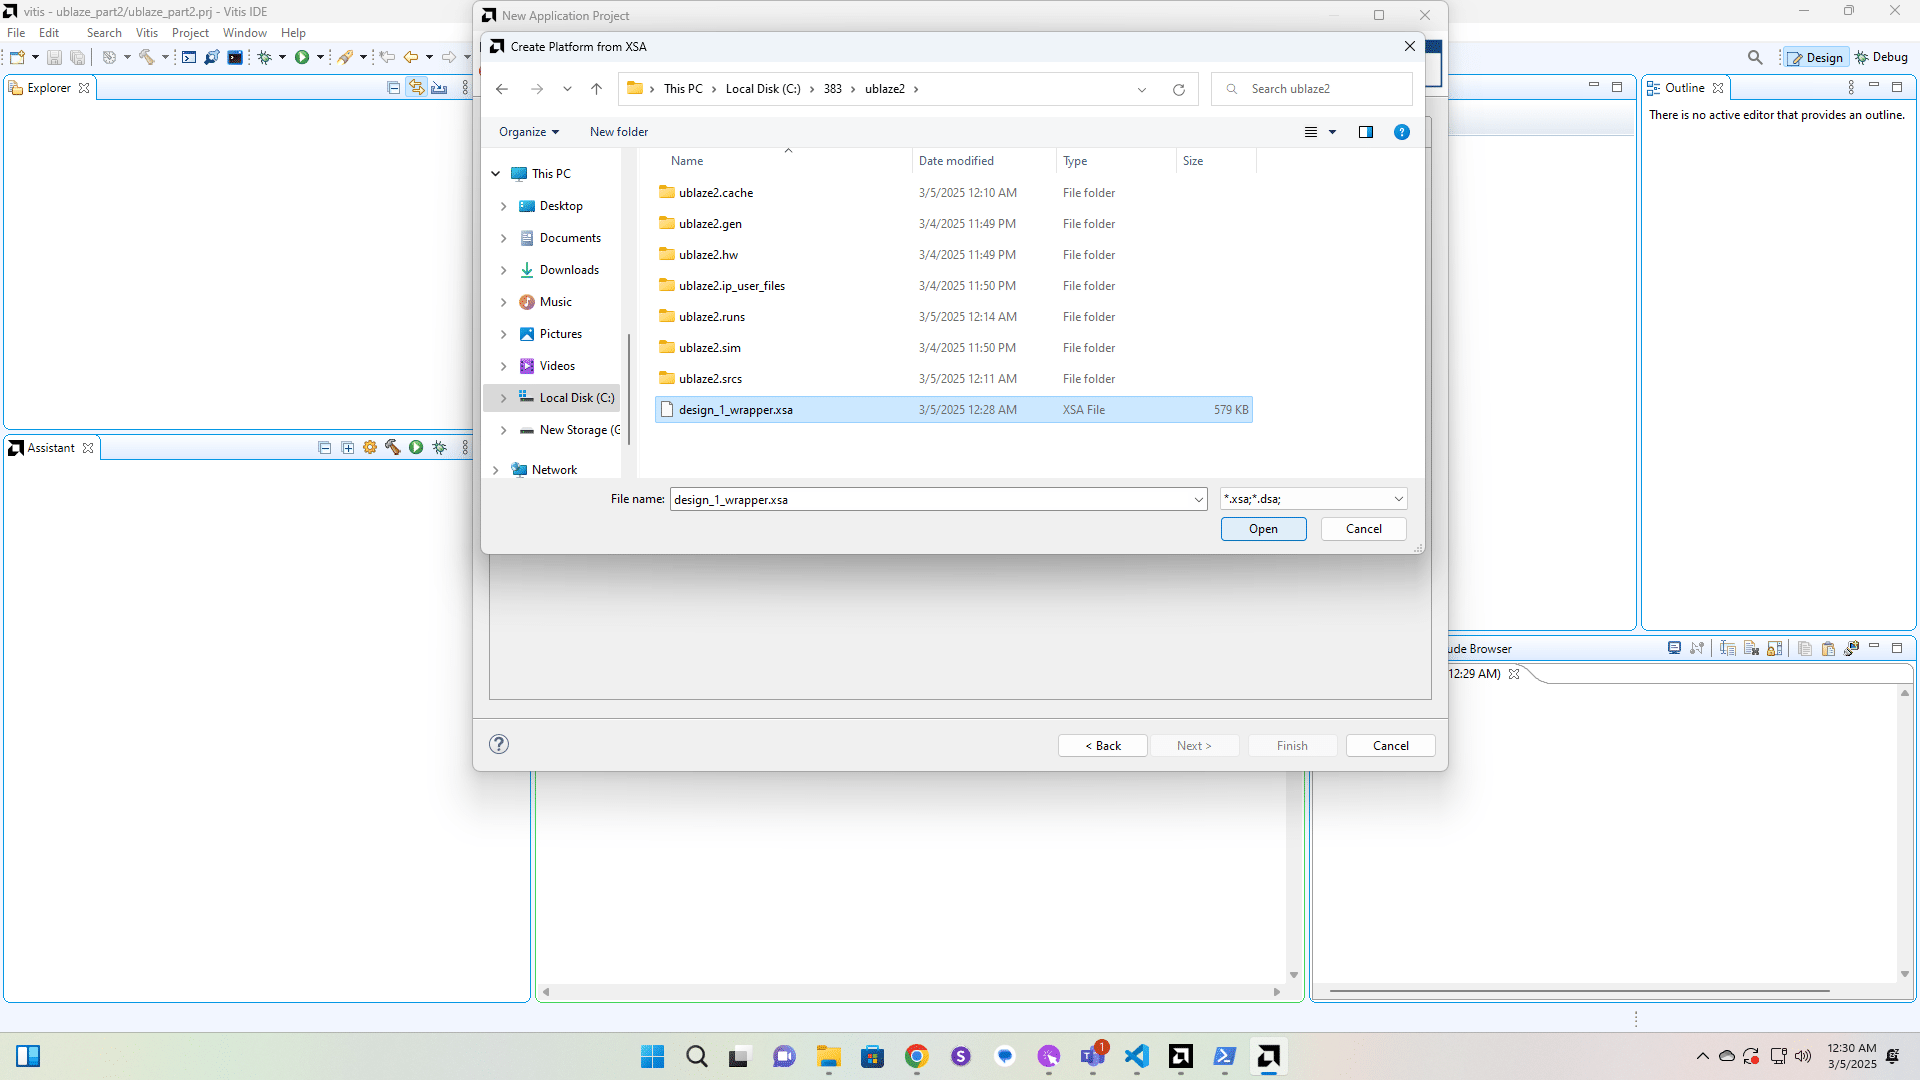
Click here

Click here
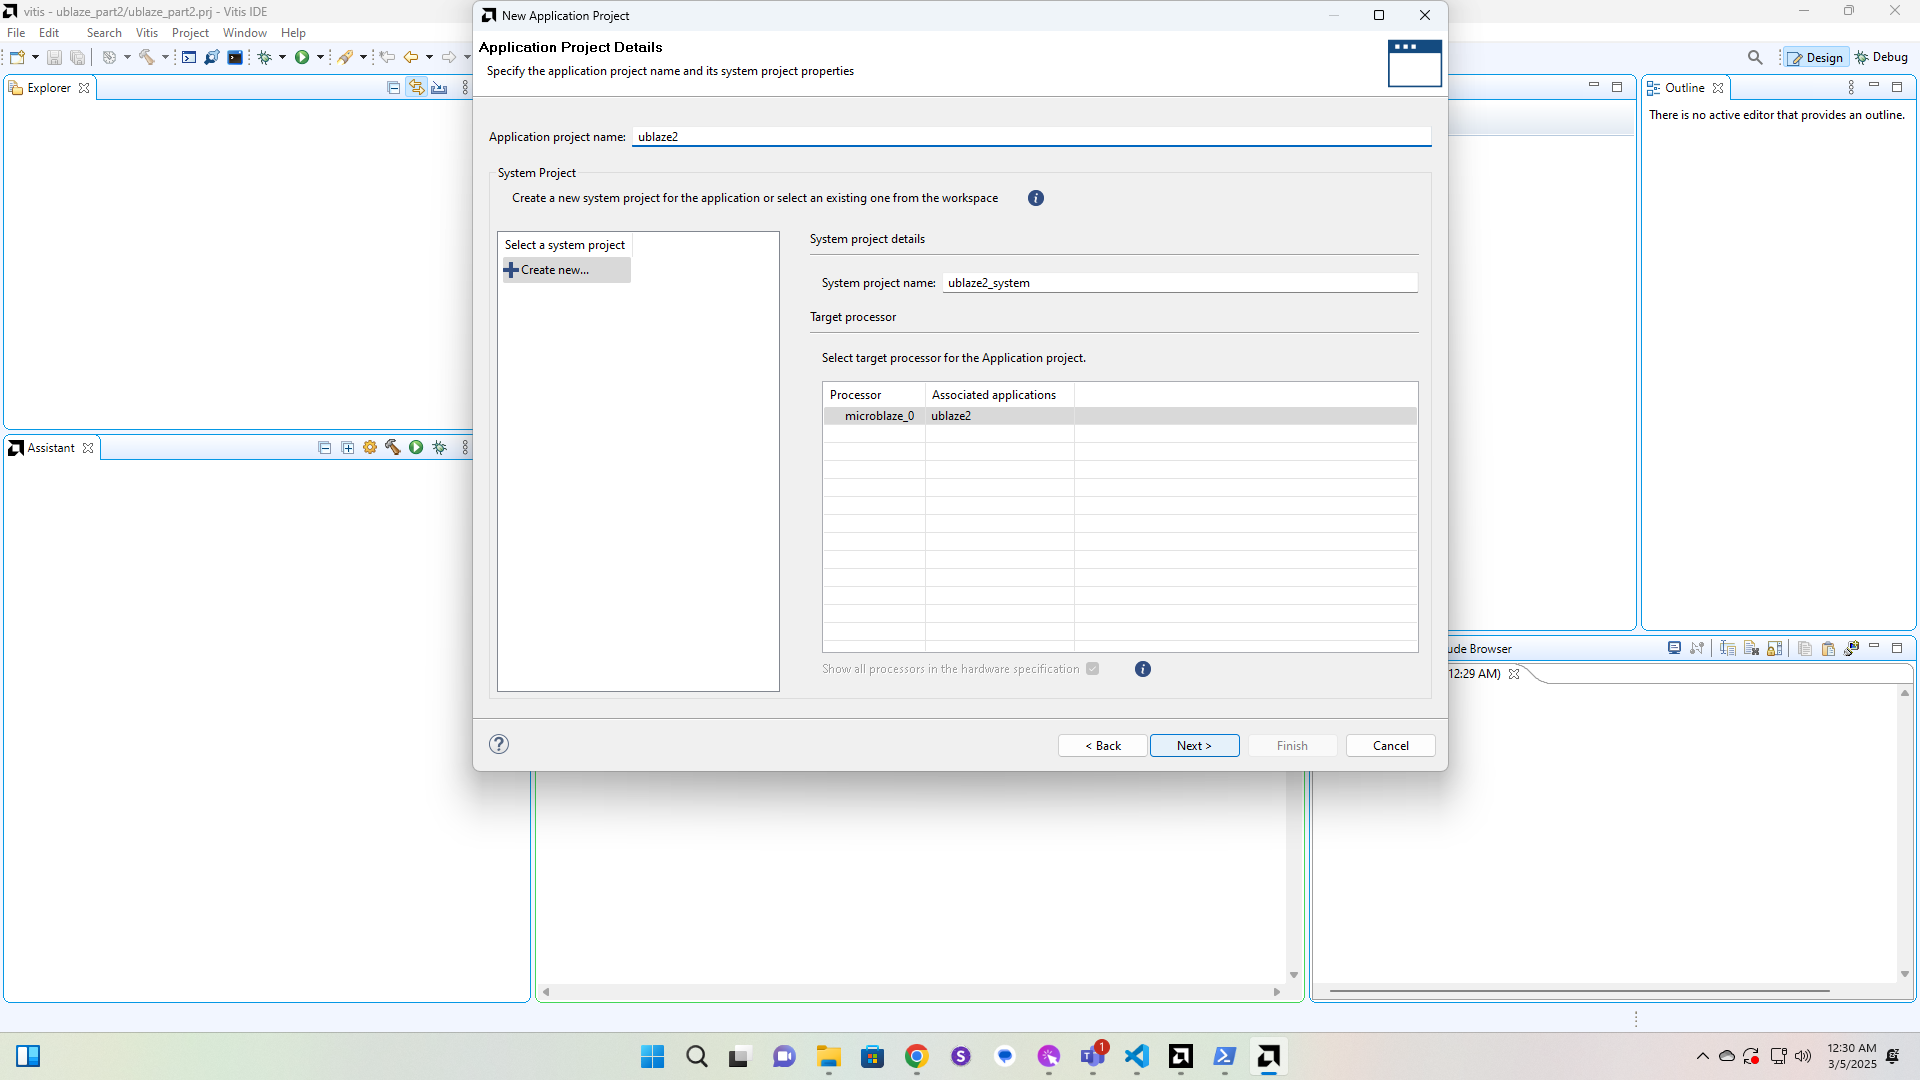
Click here
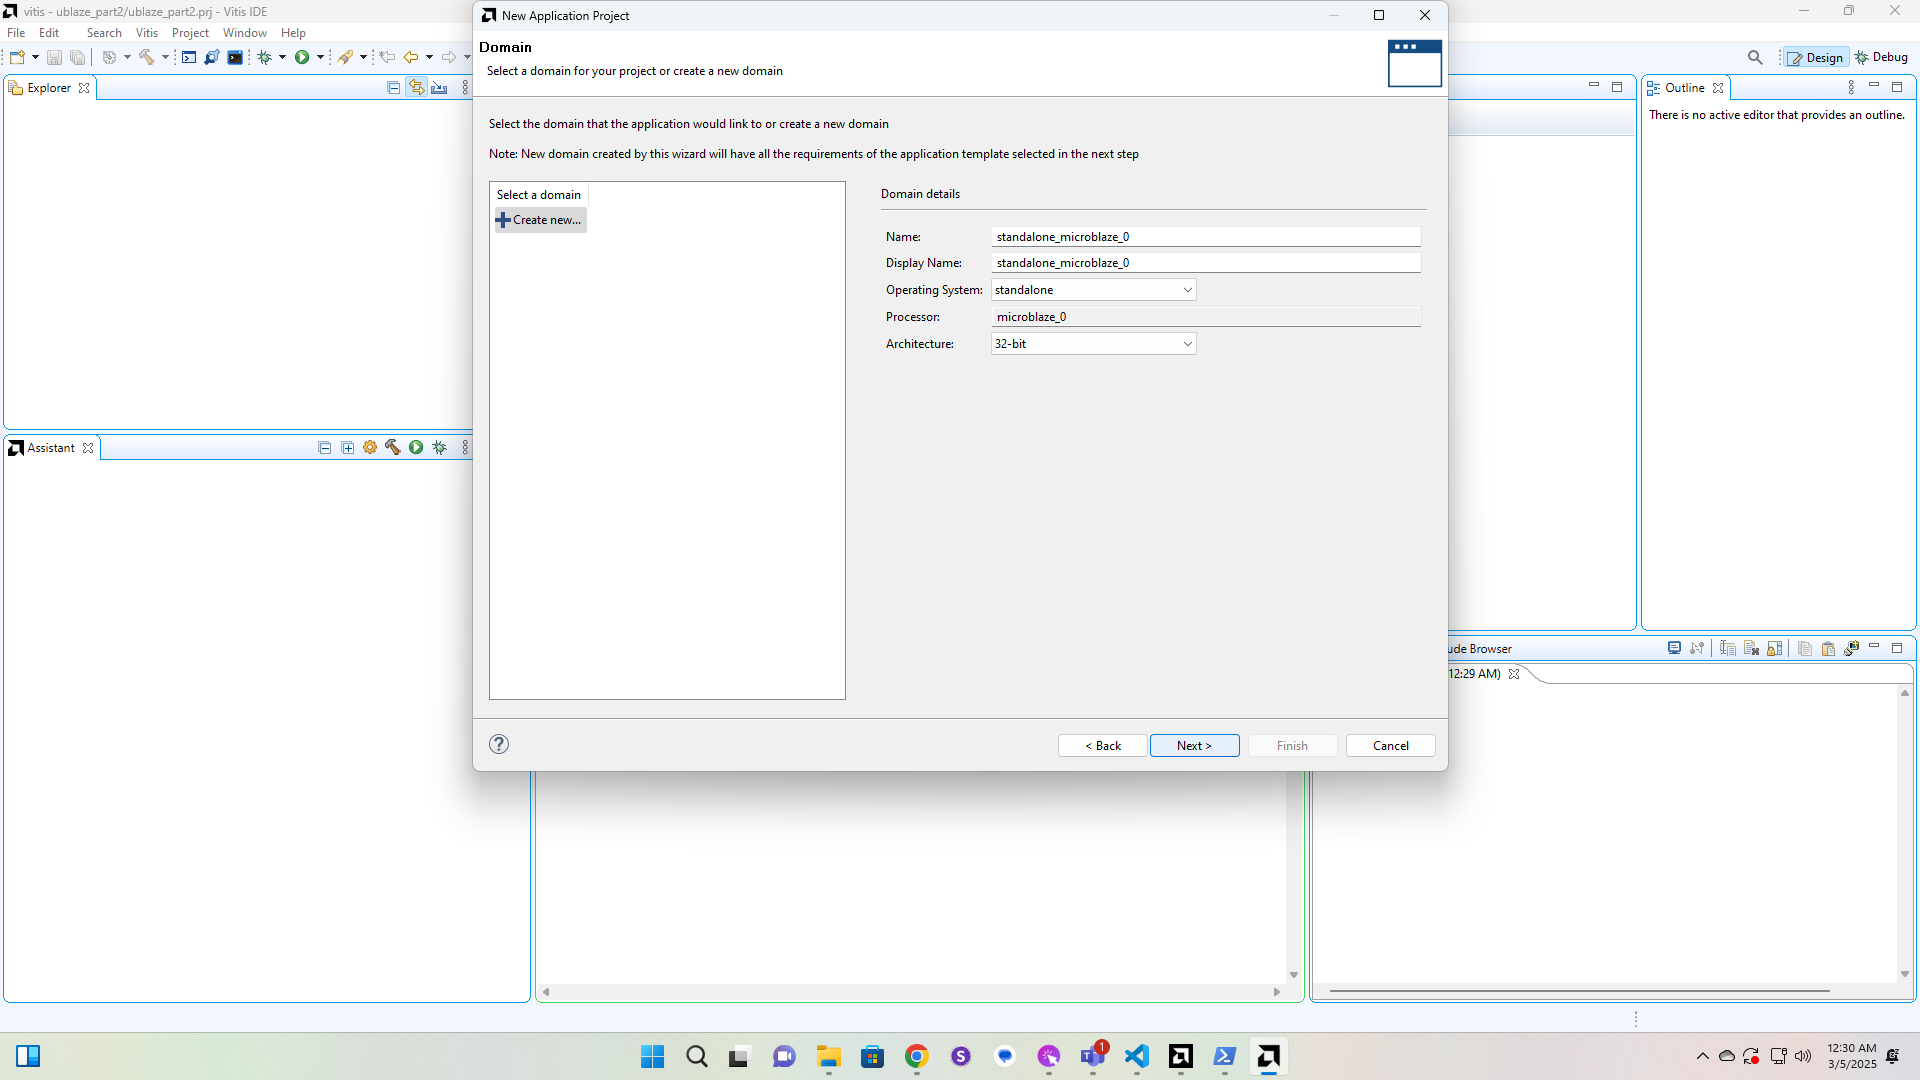
Click here
Click here
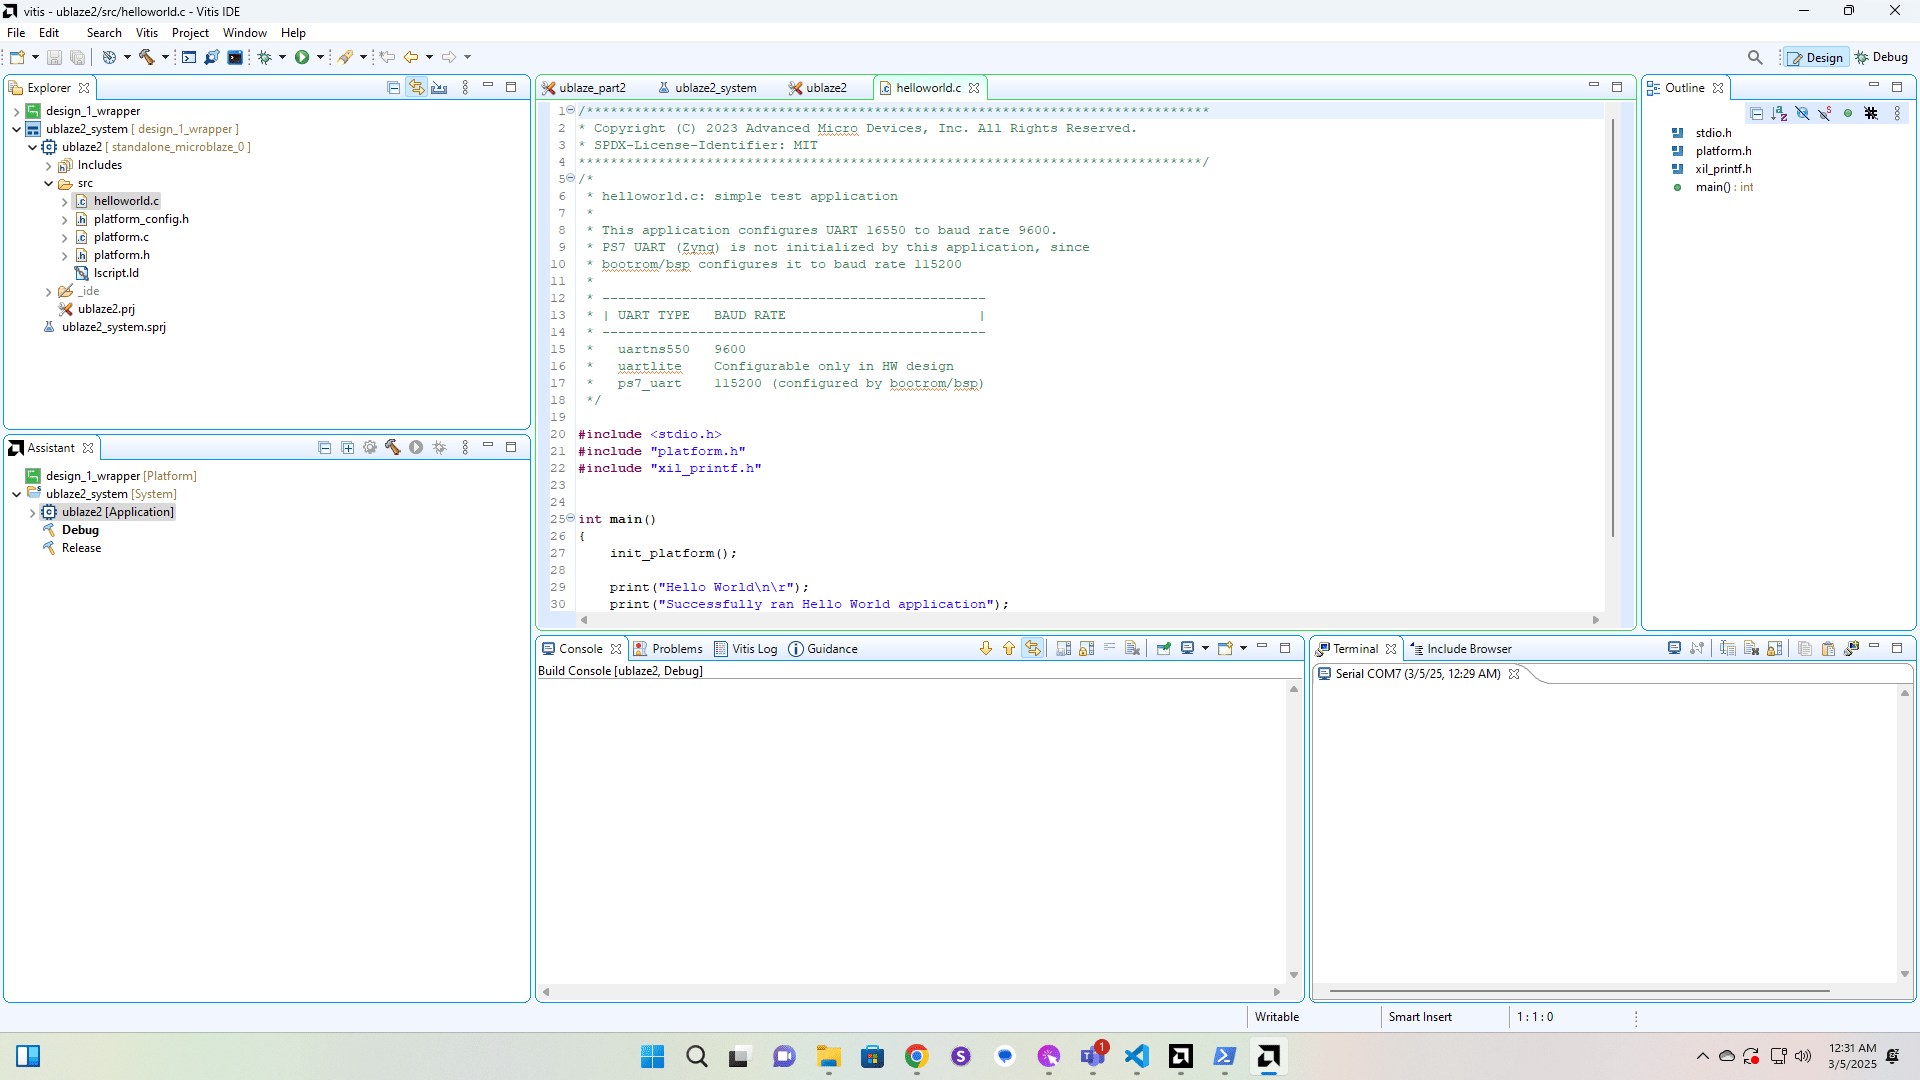
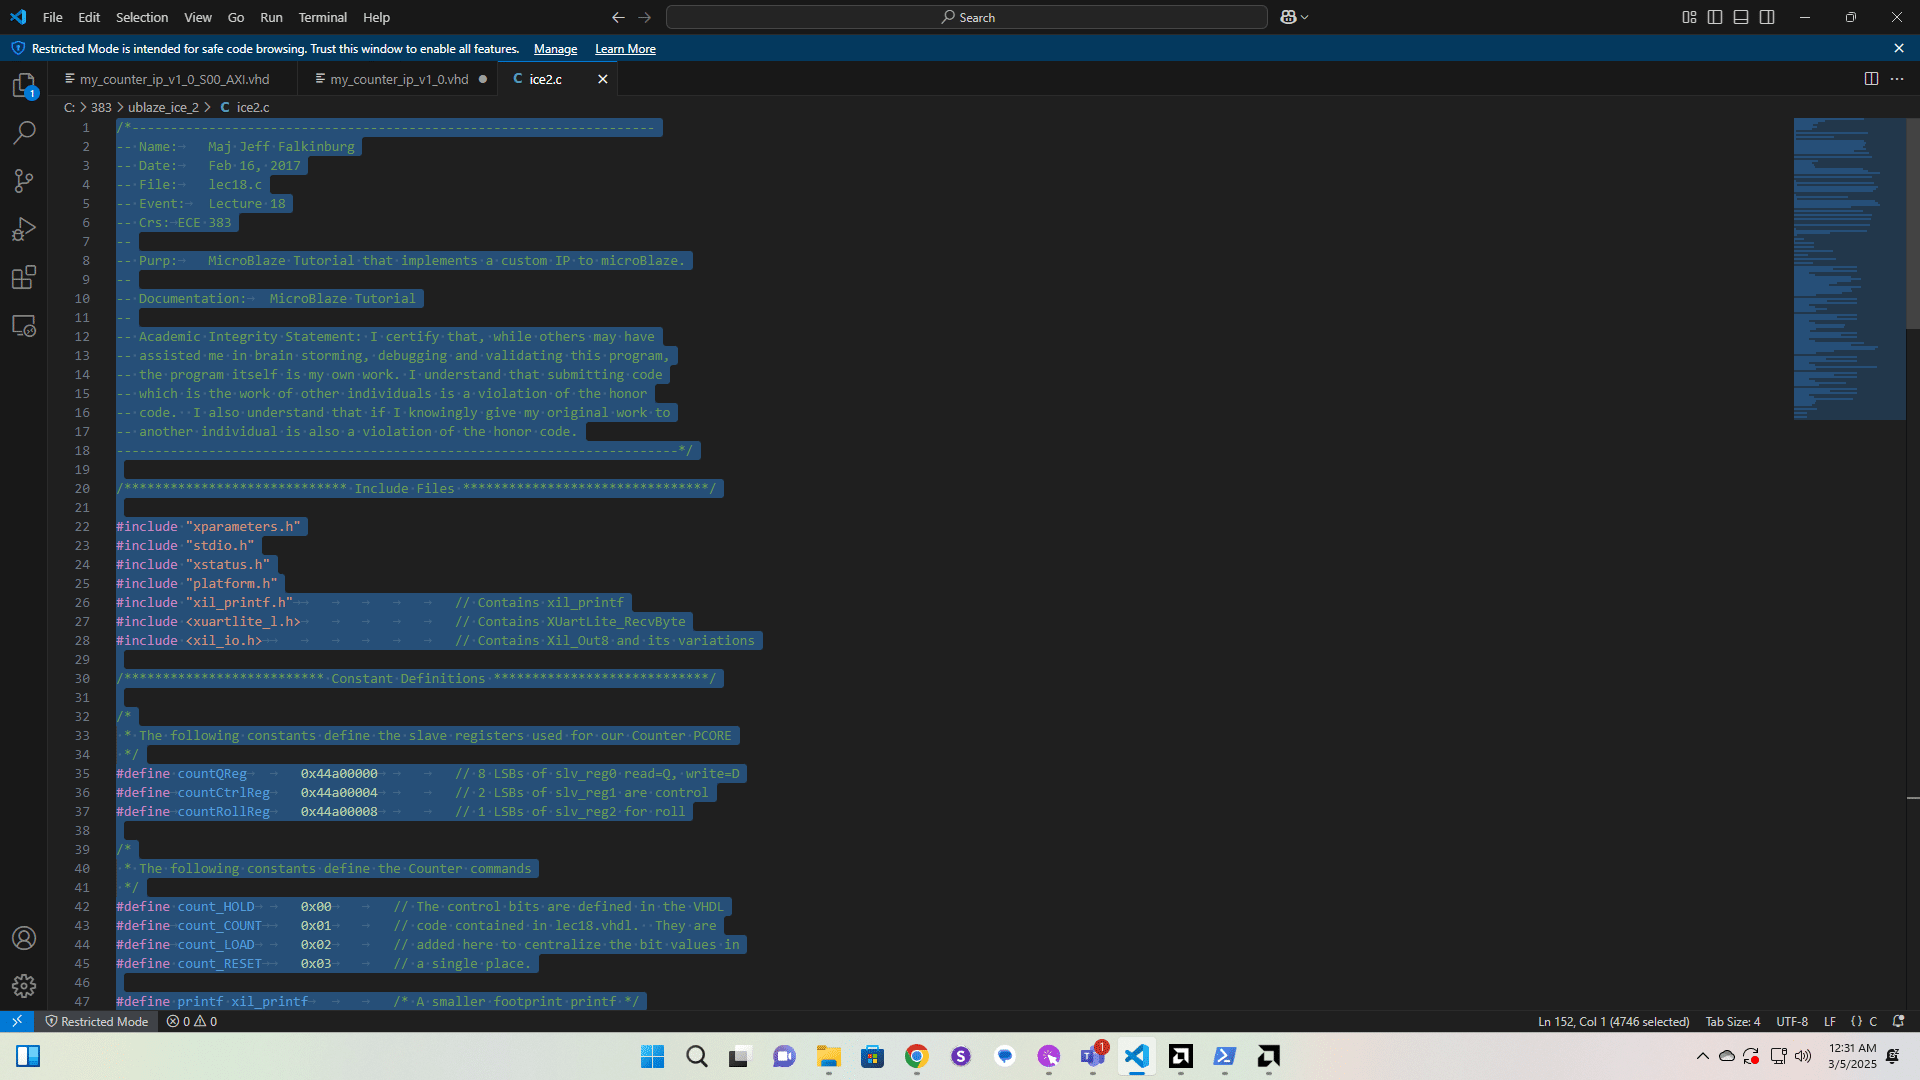
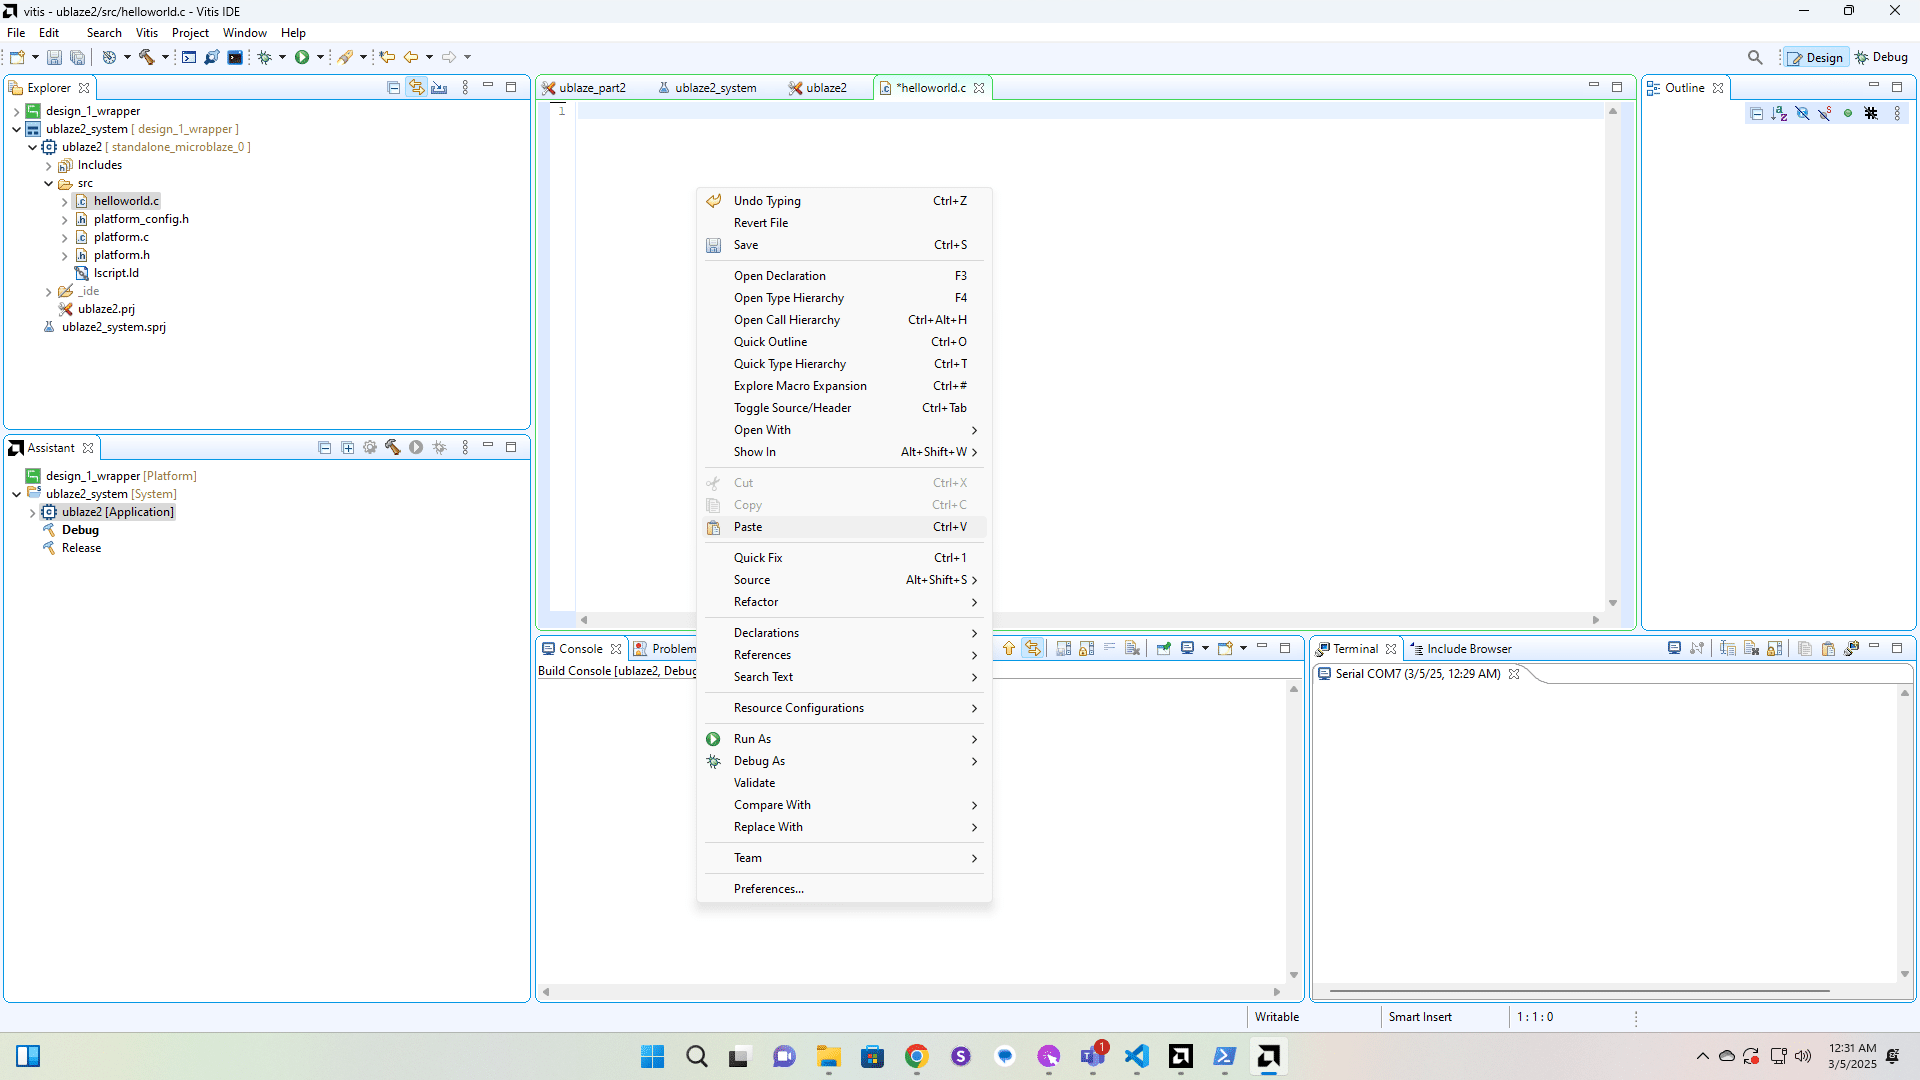
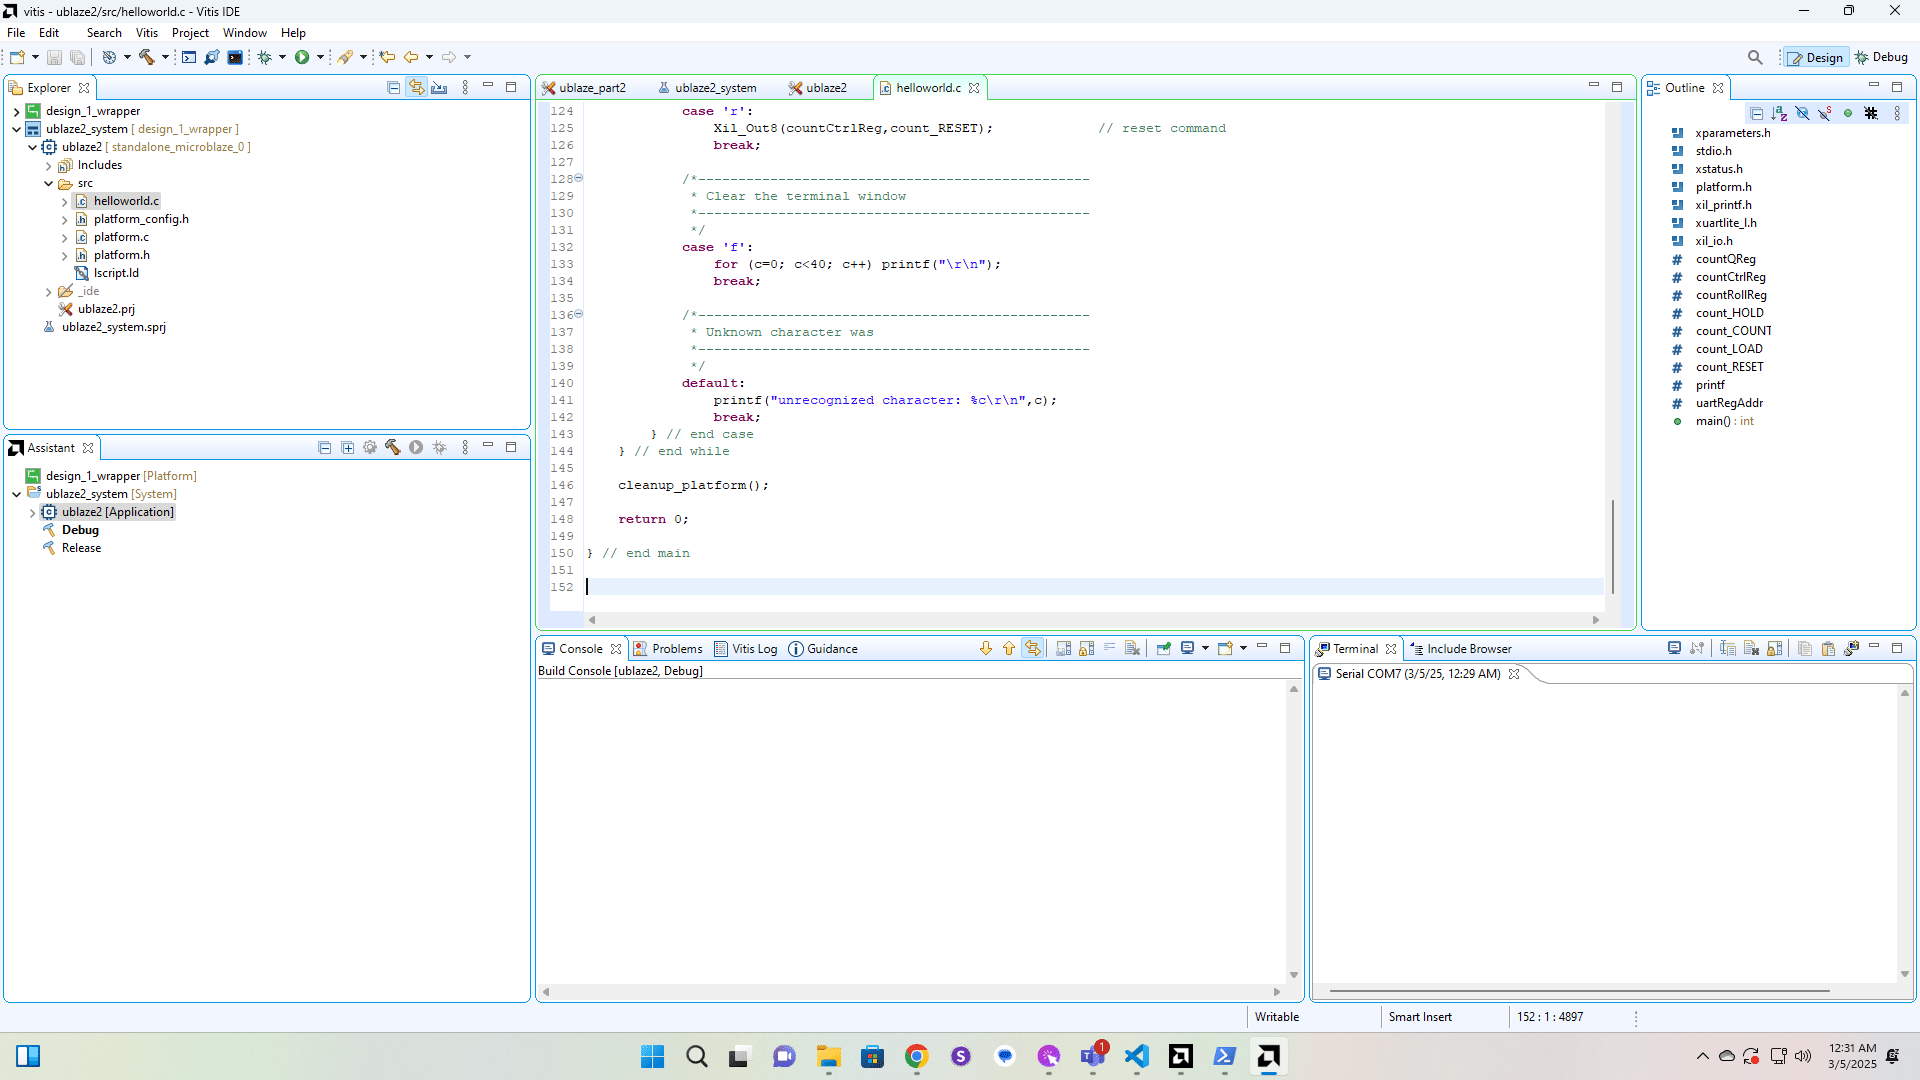
We'll replace the contents of the helloworld.c file with the ice2.c file.
Click here
Click here
Click here
Click here
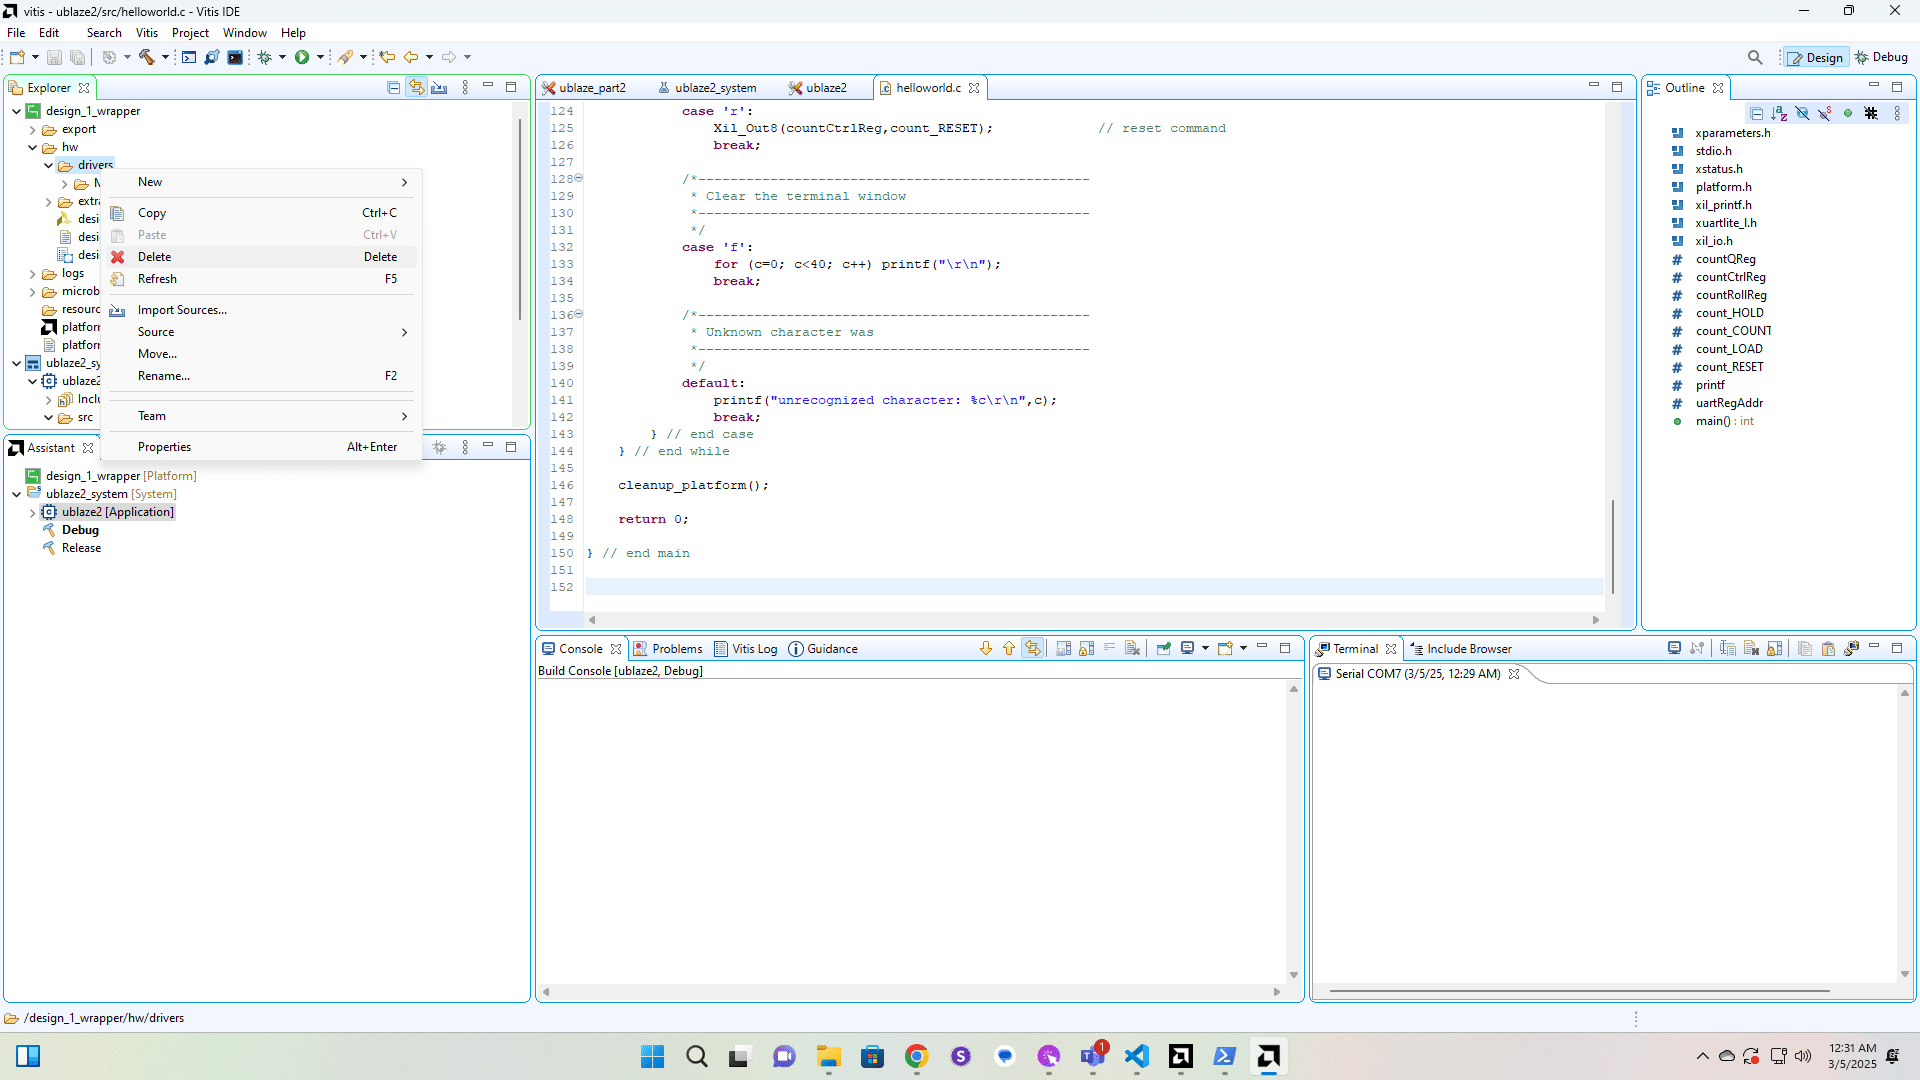
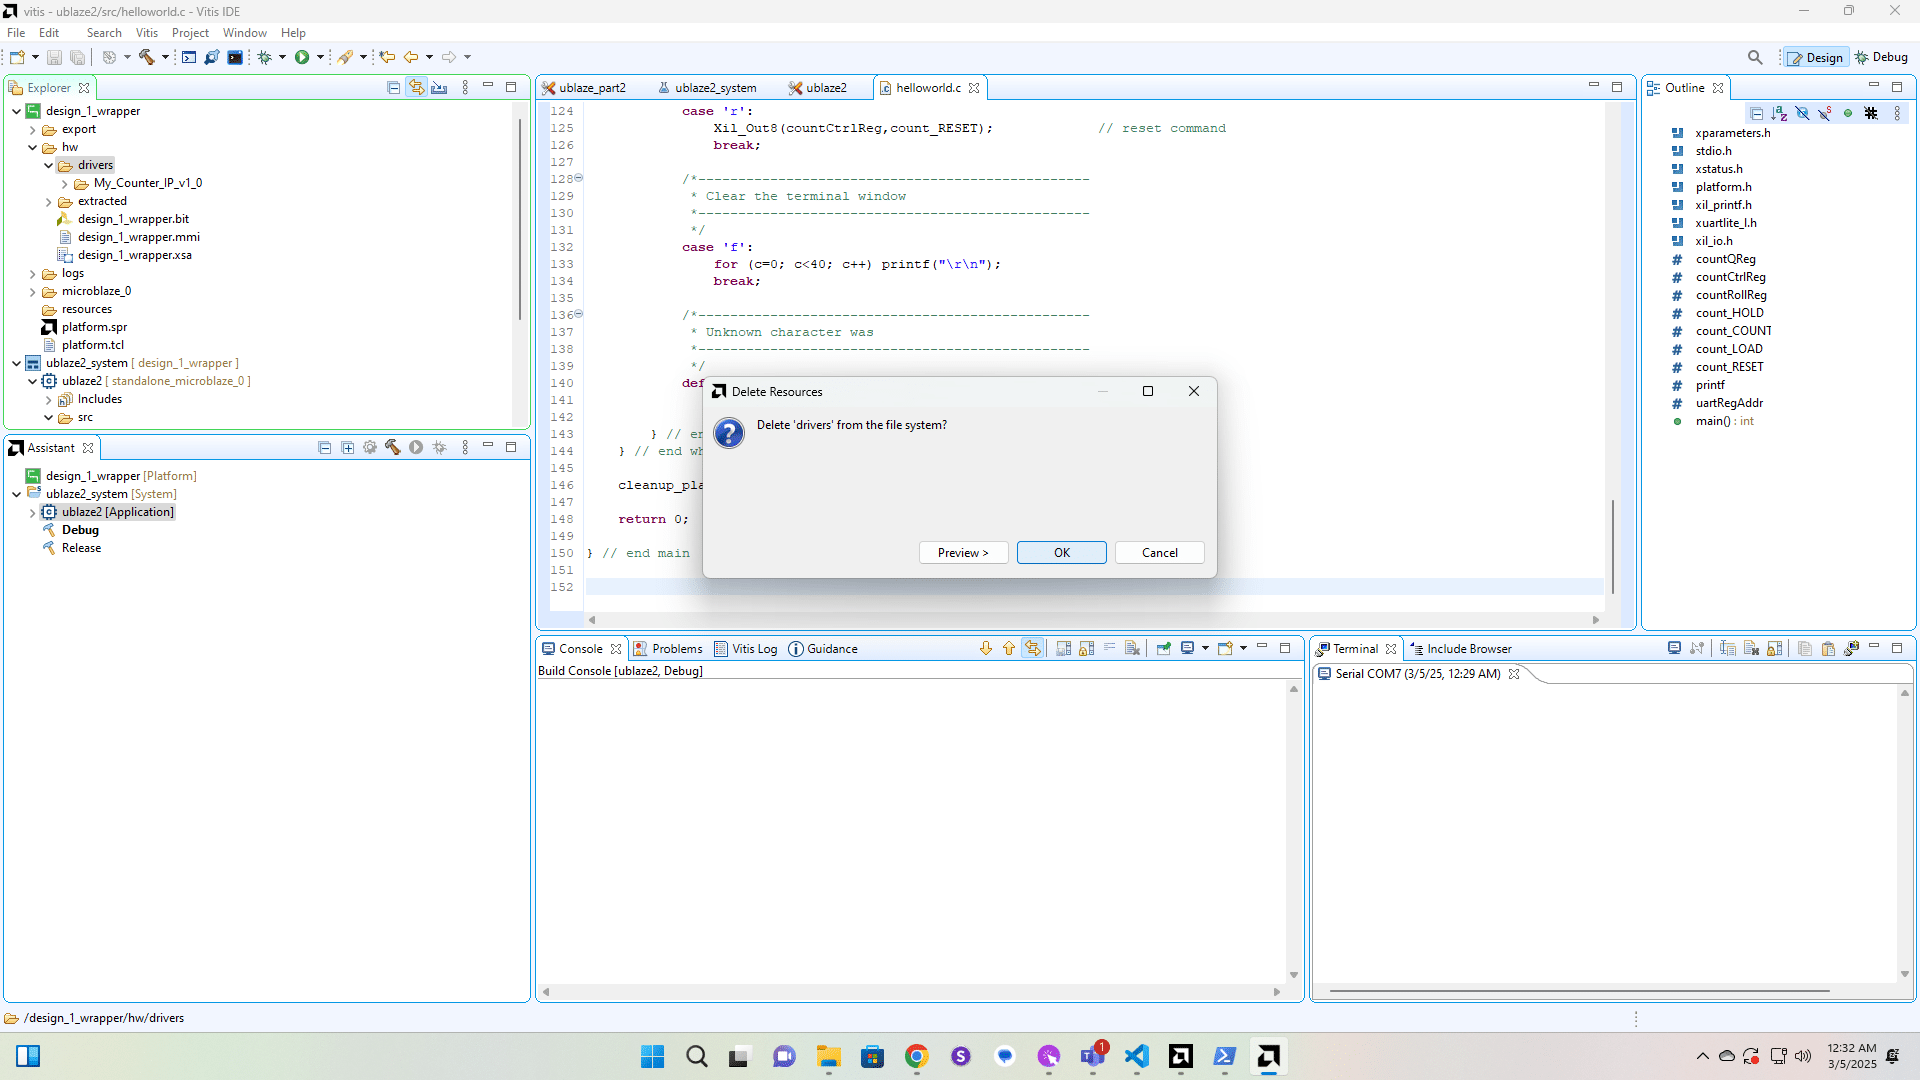
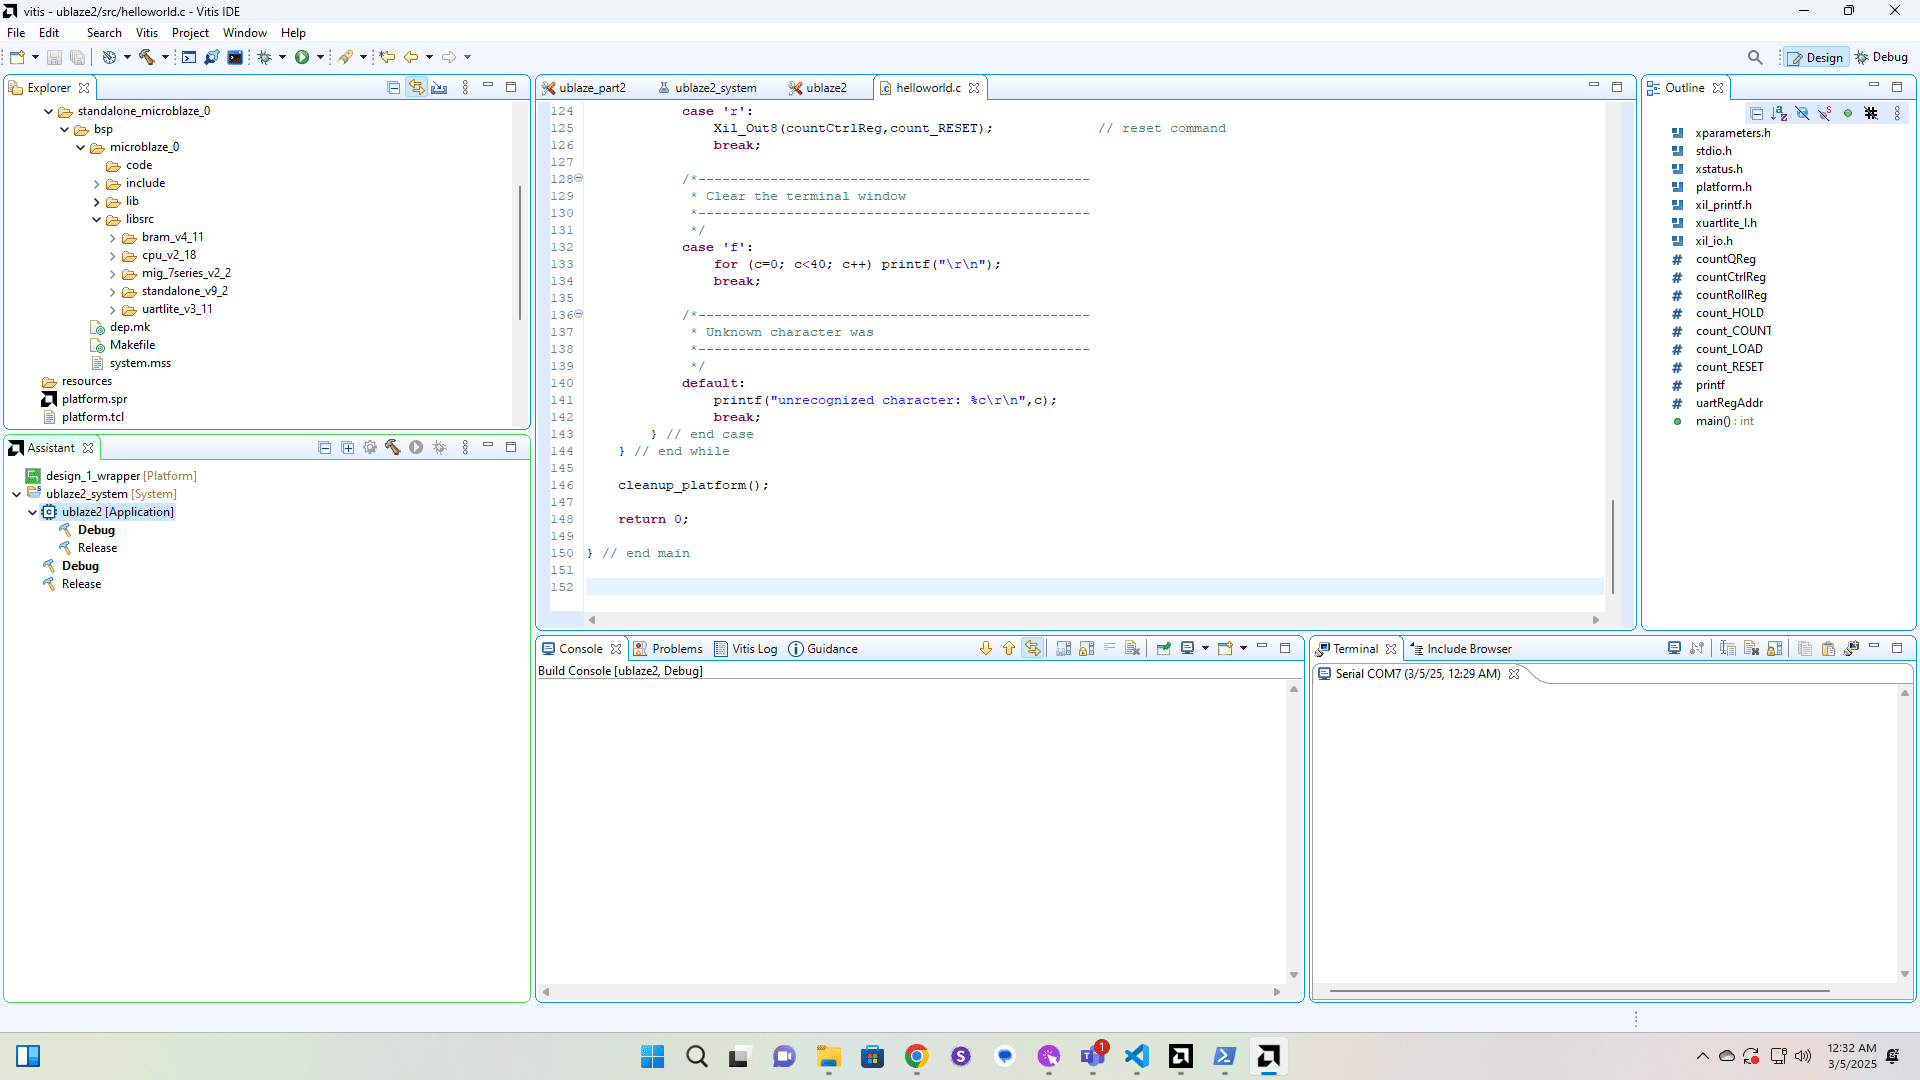
Now we're going to delete the auto-generated driver files since we don't use them in this course.
Click here
Click here
Now go to design_1_wrapper/microblaze_0/standalone_microblaze_0/bsp/Makefile and comment out the line that says "BSP_SEQUENTIAL_MAKEFILES := microblaze_0/libsrc/My_Counter_IP_v1_0/src/Makefile"
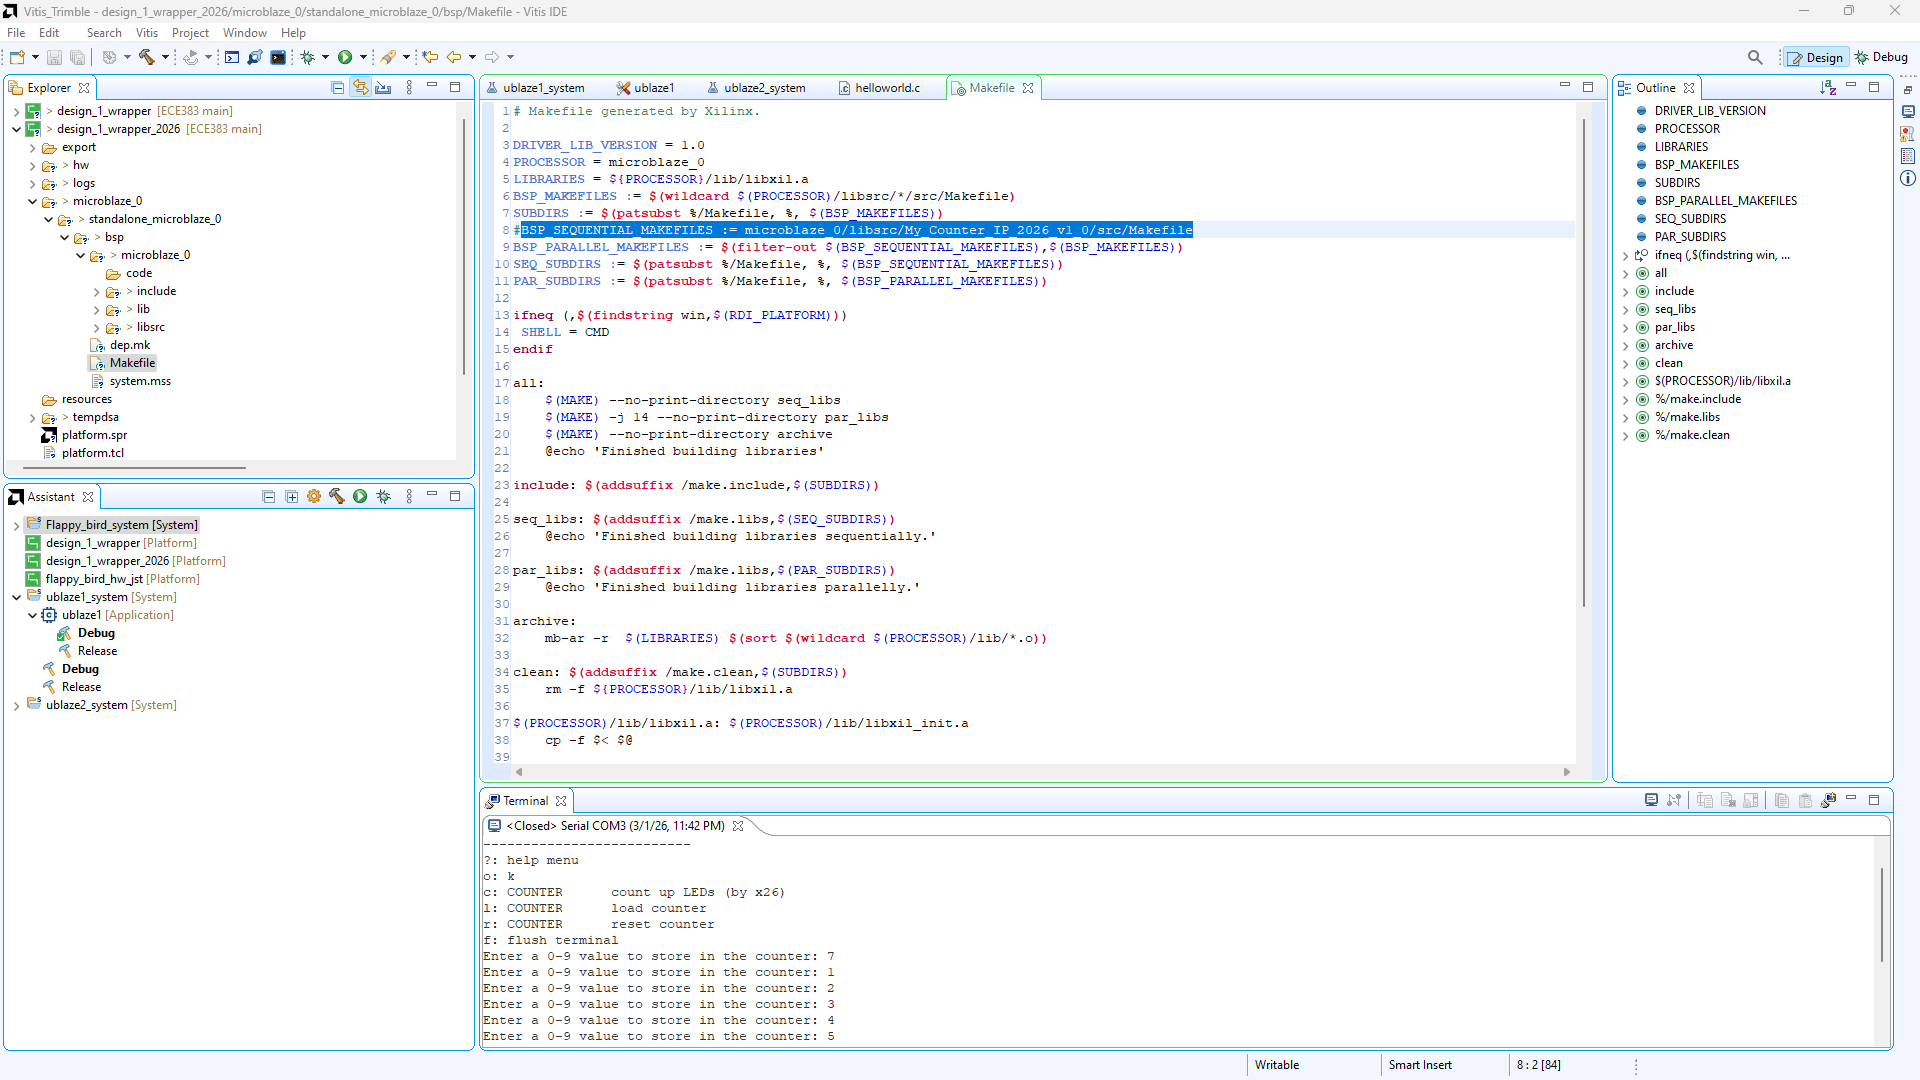
If you run the build process before you deleted the drivers folder you will have a my_counter_ip folder in libsrc that will need to be deleted. If you followed the process in this tutorial in order then you won't have this folder and can continue.
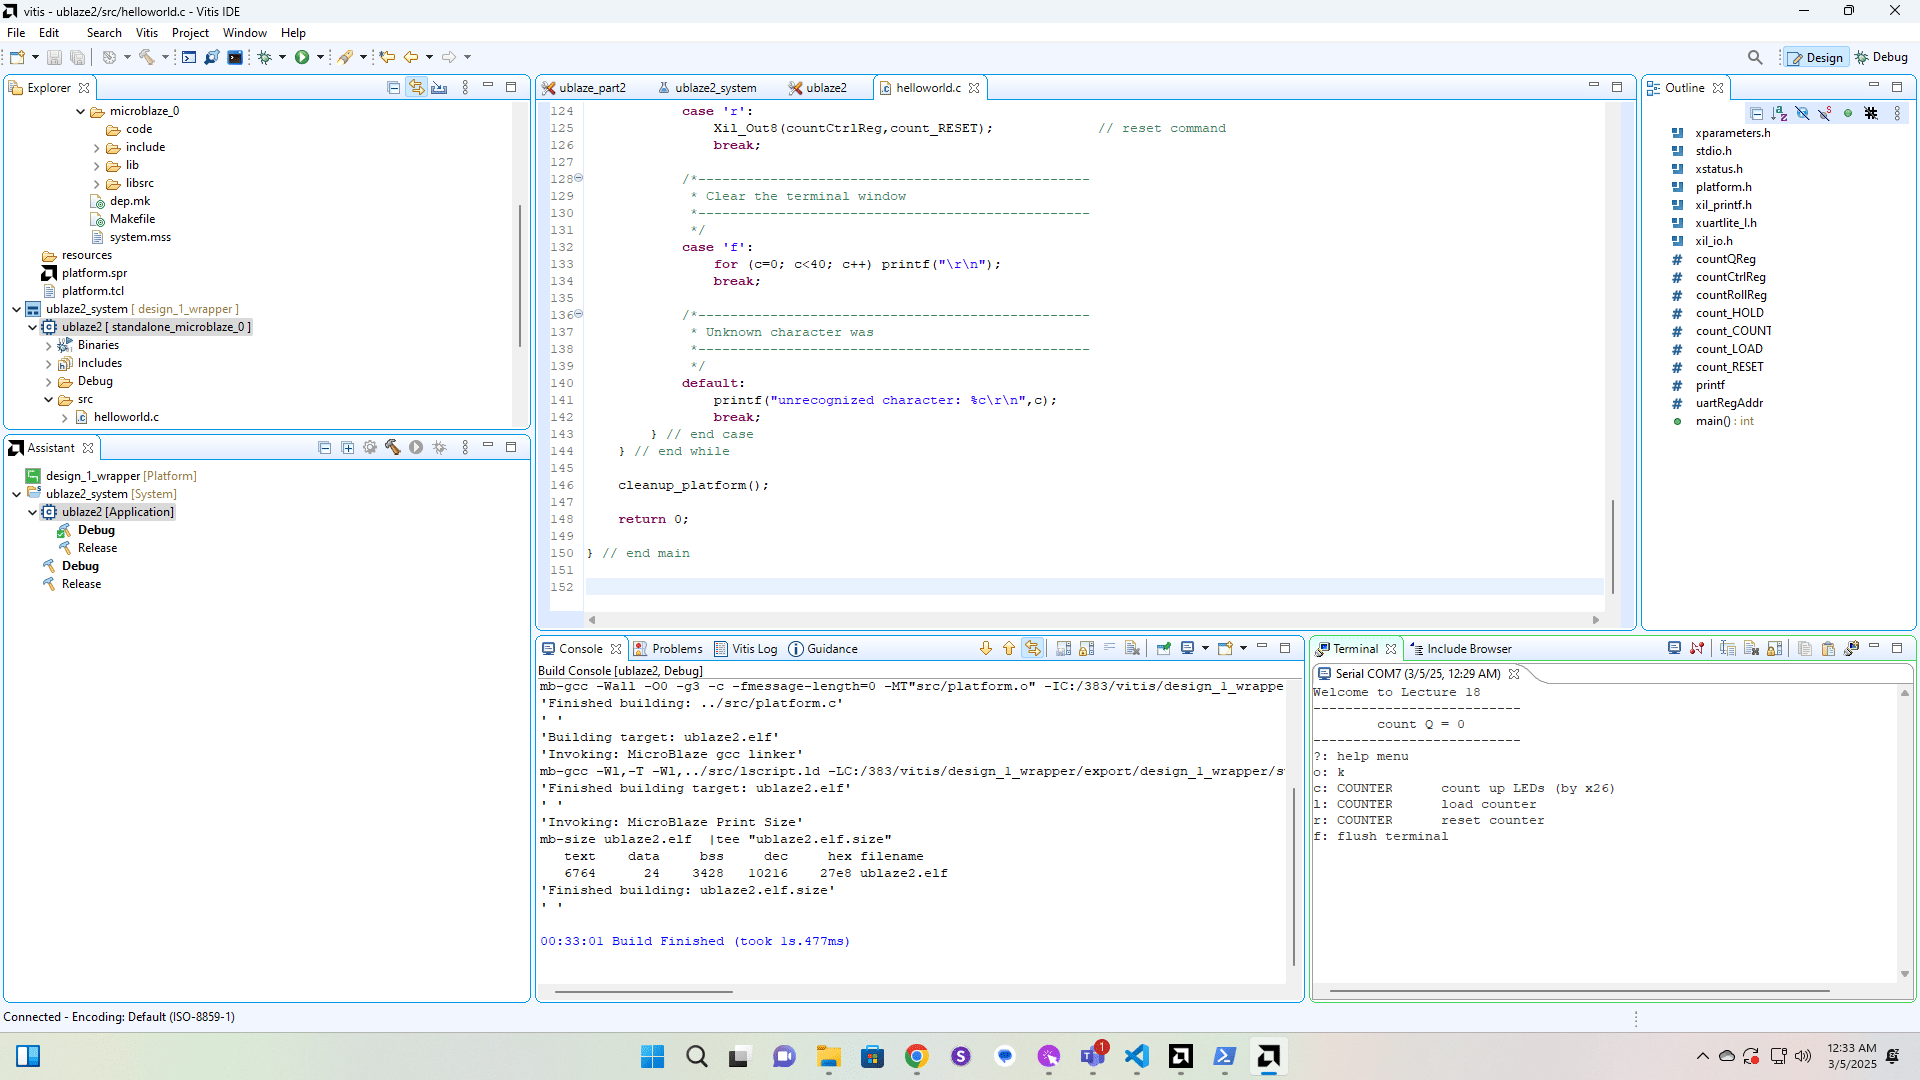
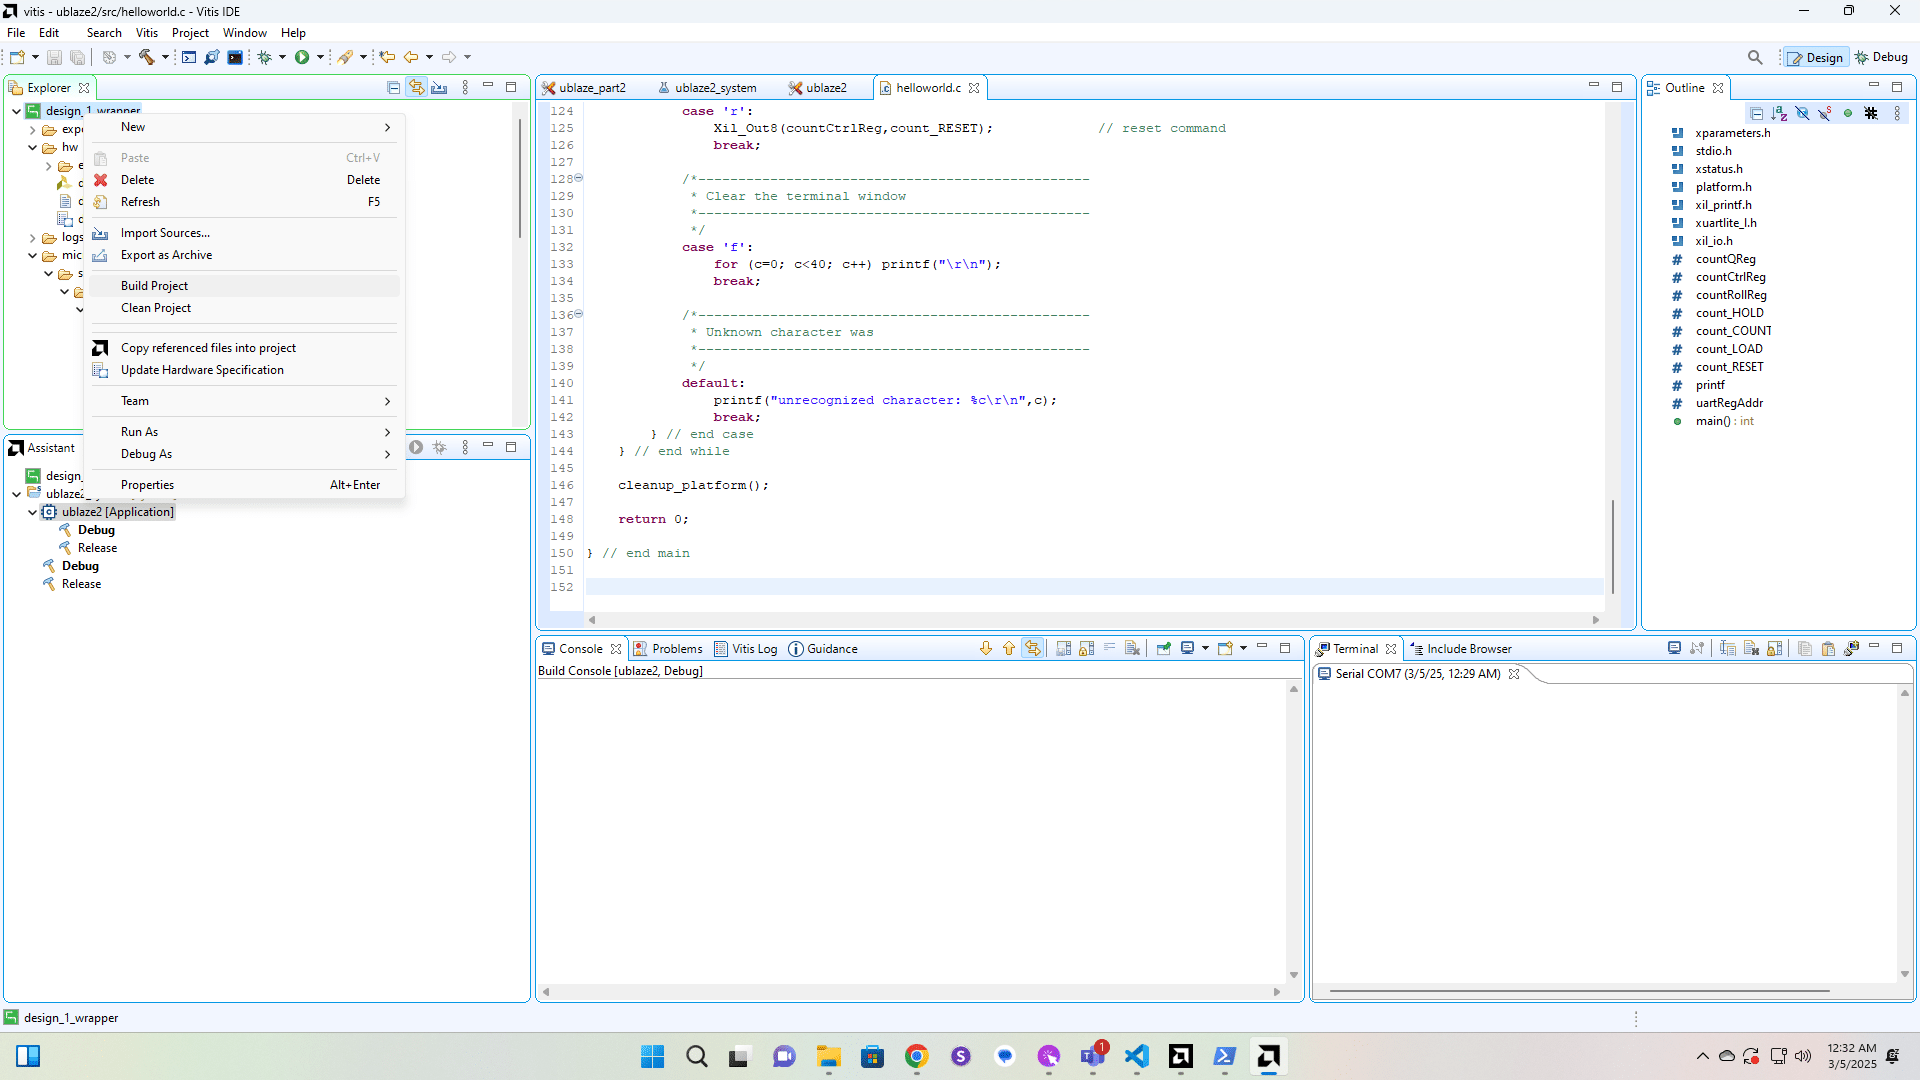
Run Build Project on the hardware platform.
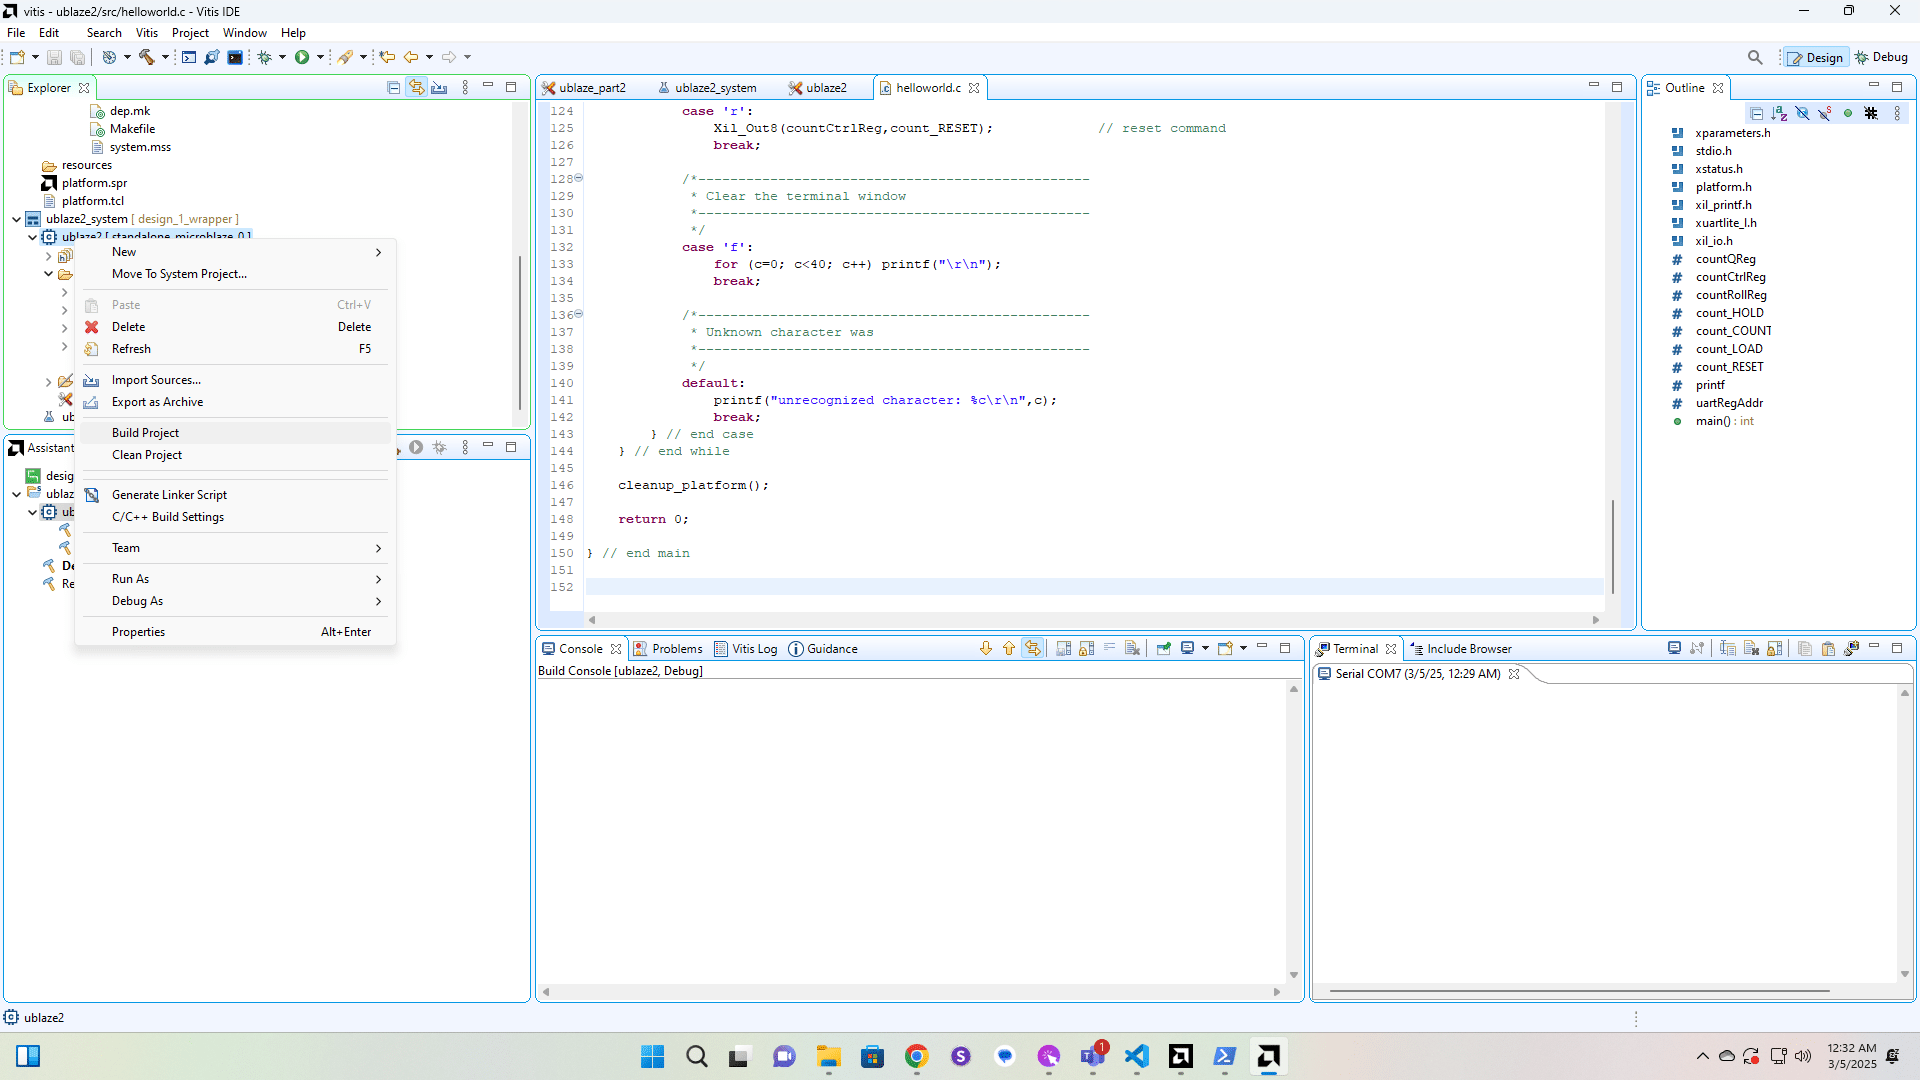
Run Build Project on the C Application.
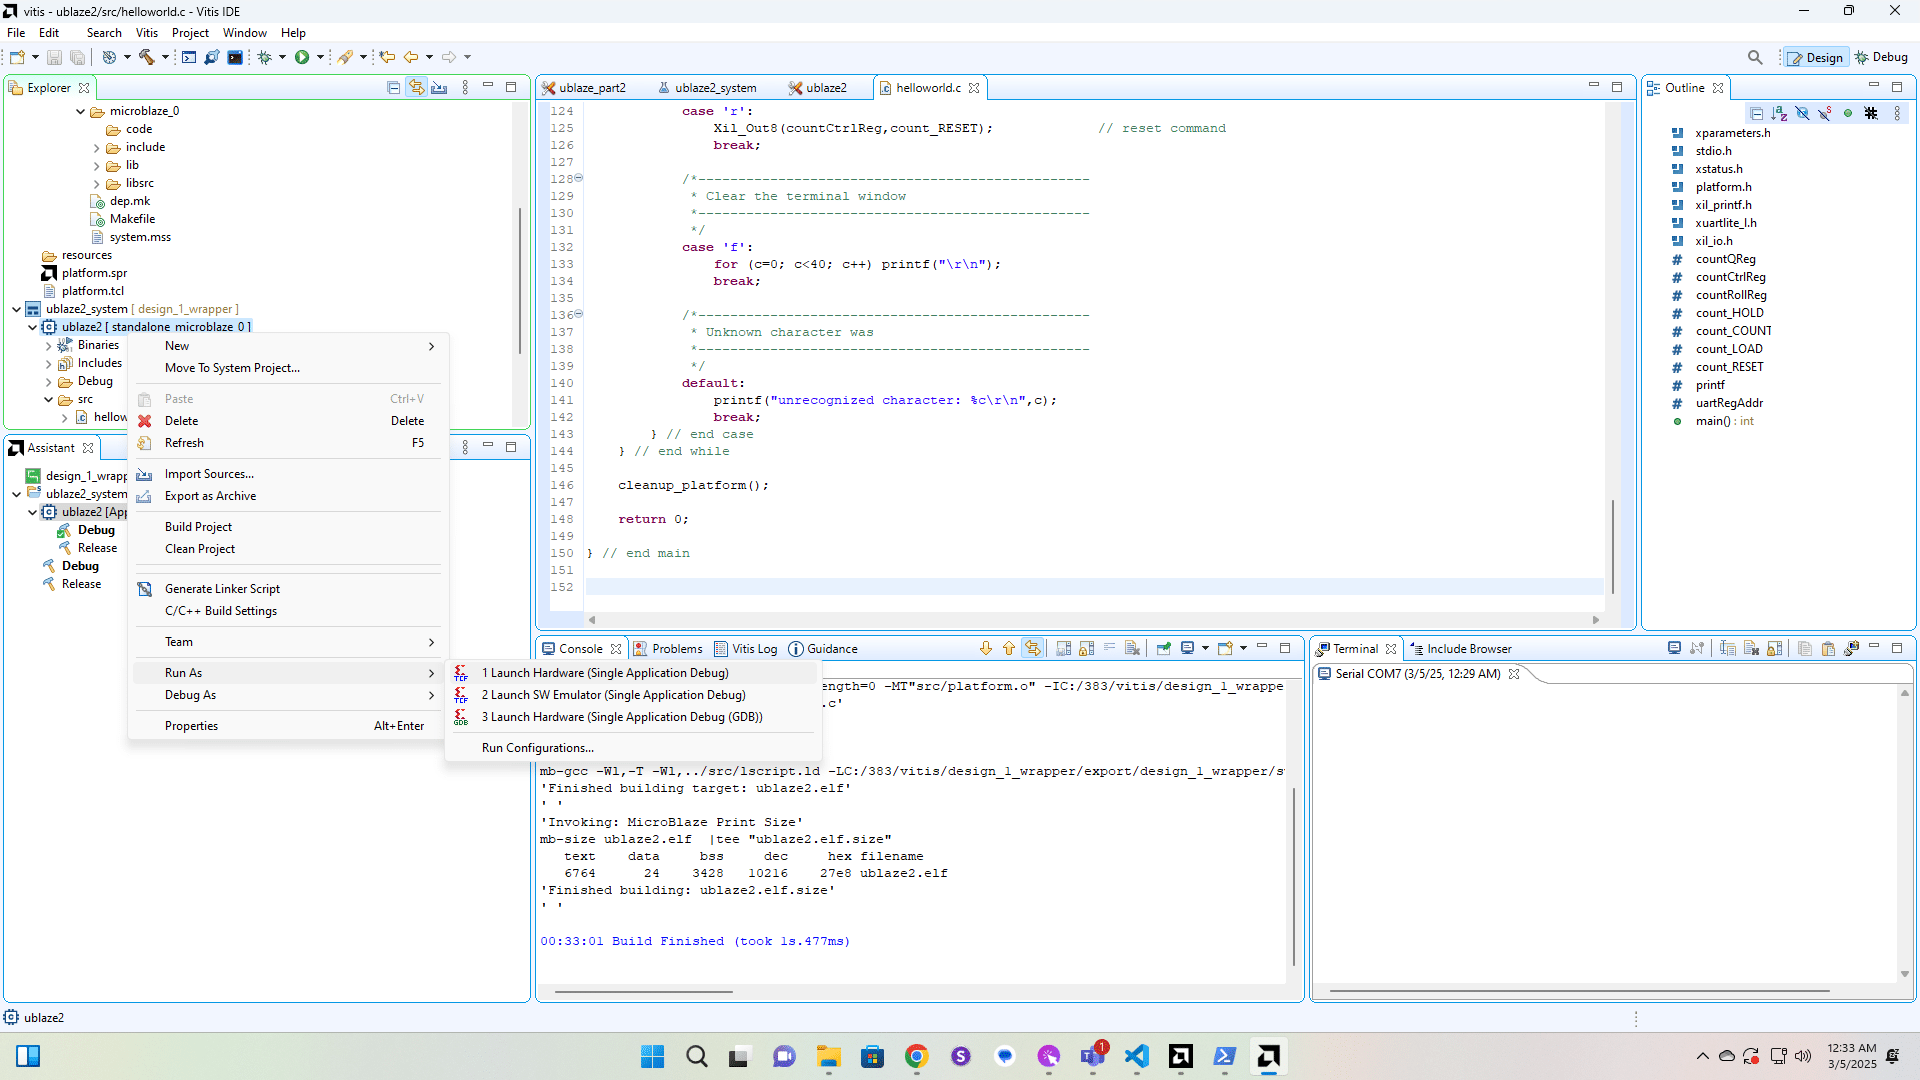
Launch the application and click in the terminal to give it focus. If you didn't have a terminal open, you can open it from Window->Show View.
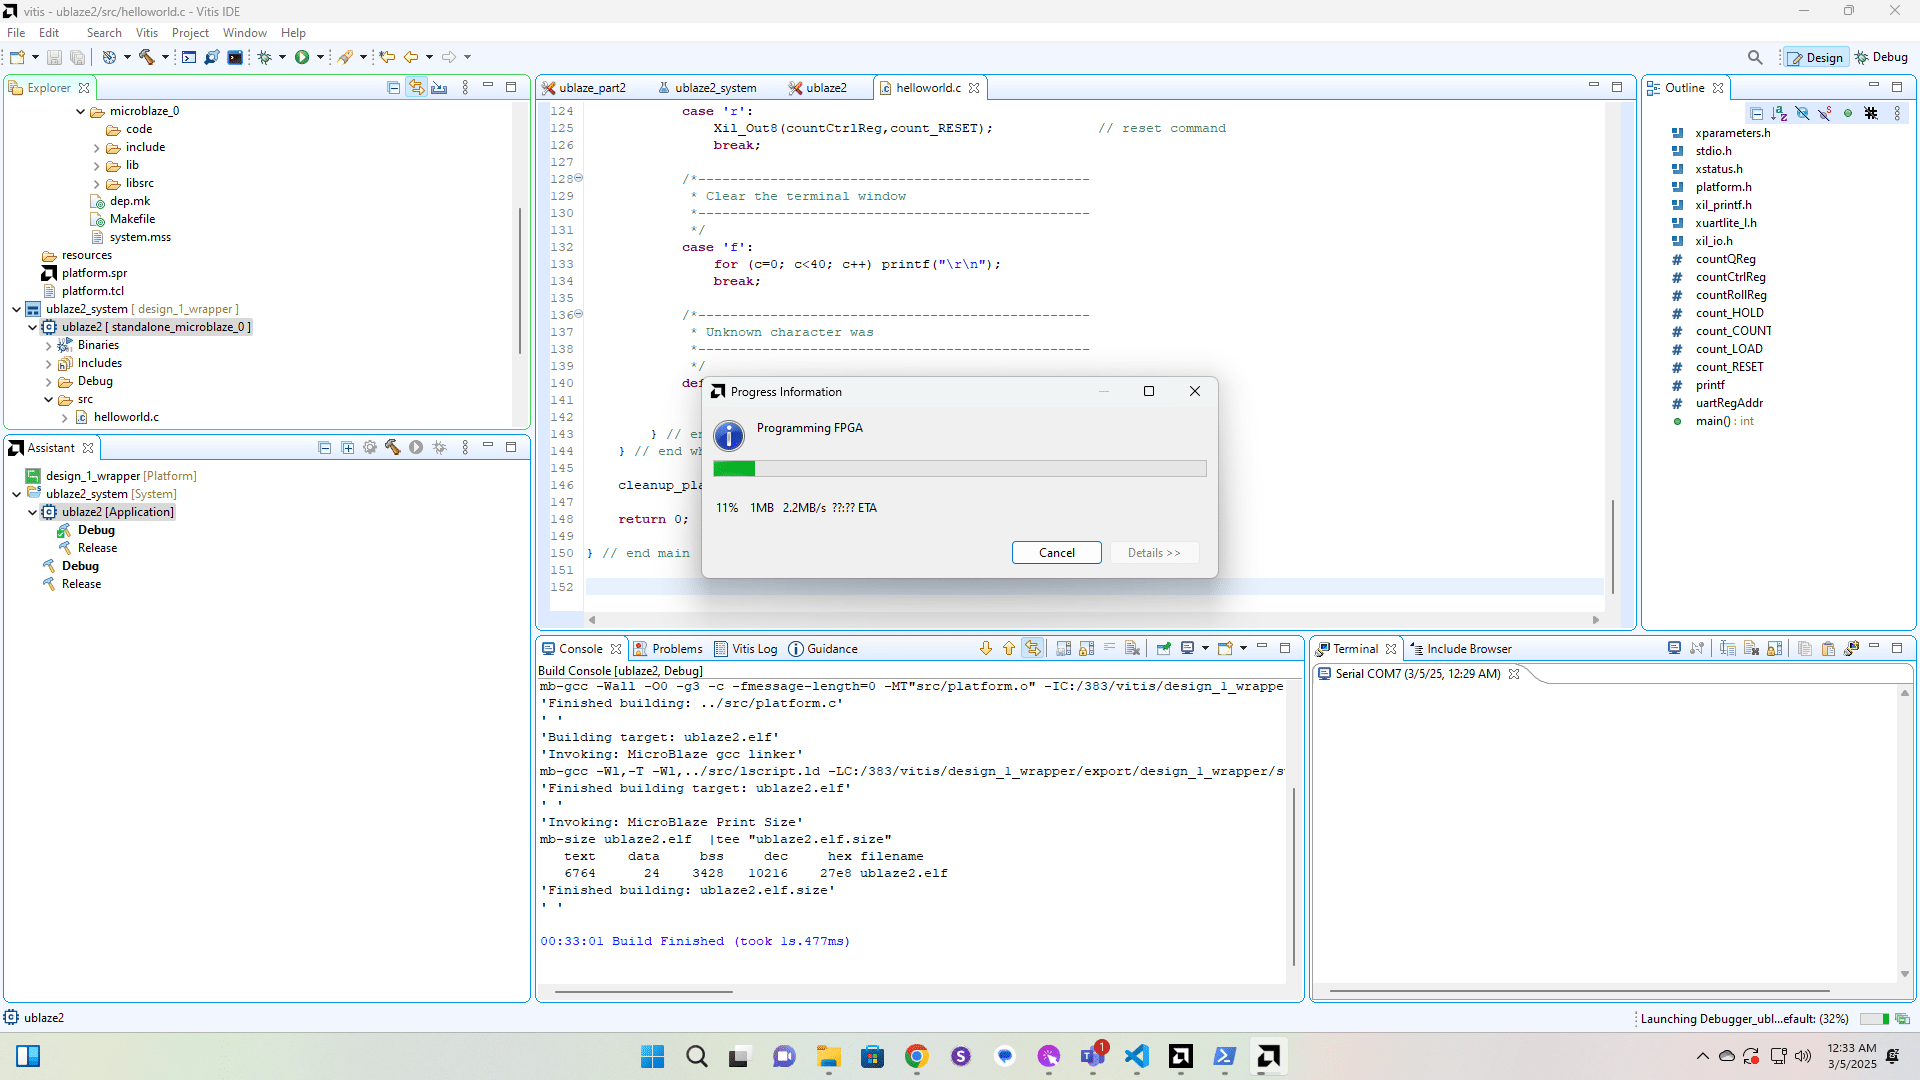
Once the program runs you should see the welcome message.
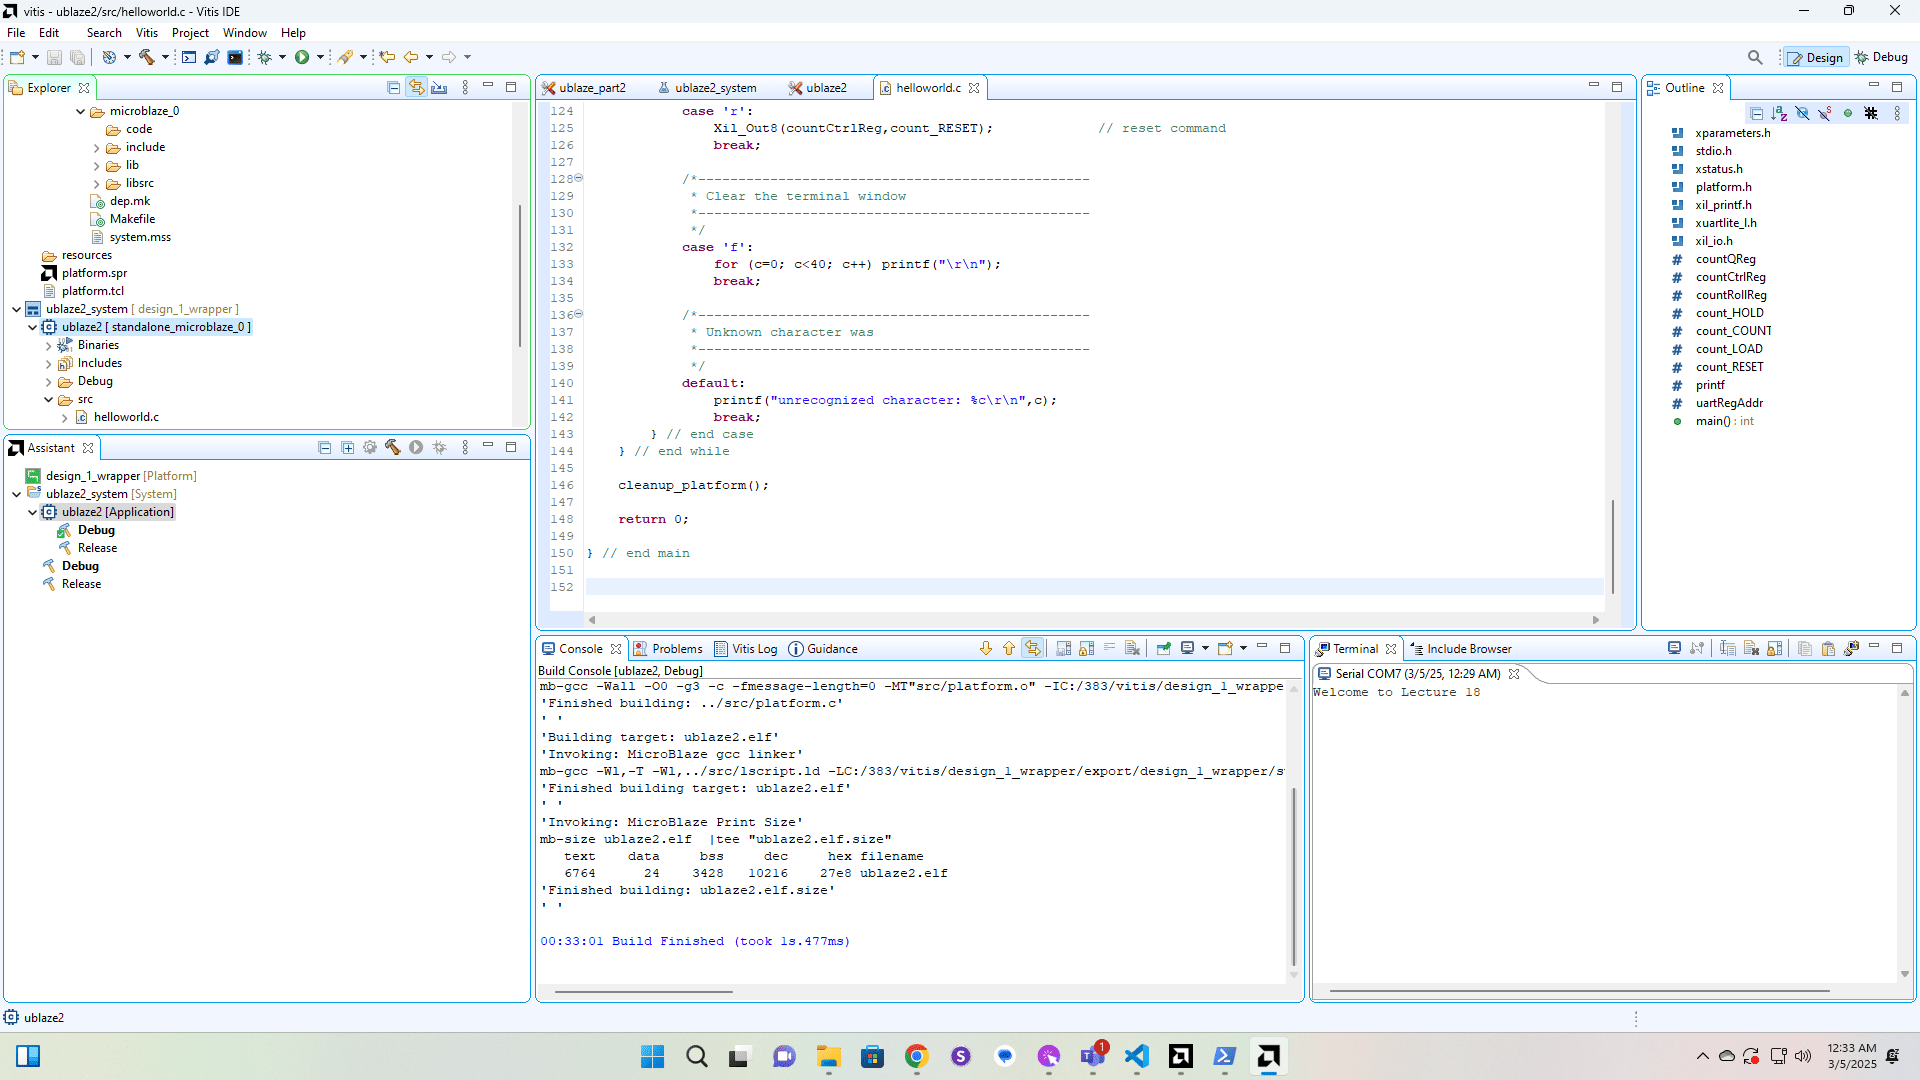
Type a "?" into the Terminal to see the menu. You now have a hardware counter and LEDs, implemented in an FPGA, that is being controlled by a soft CPU that is also implemented on the FPGA and connected to your PC through a UART. You can experiment with making the counter count and seeing the result in the terminal and on the LEDs on the Nexys Video board.